If you are recall several years ago, Dave Schulte shared his amazing shadeblast glass etching art with details on how the process is done here. And another post of his project of a tiger etched in a mirror was shown here.
Like many of you, I am a big fan of his work. He was nice enough to share with us more of his projects. They are a pleasure to look at. It really opens up our eyes on what can be etched on glass or mirror and hopefully gives you some ideas.
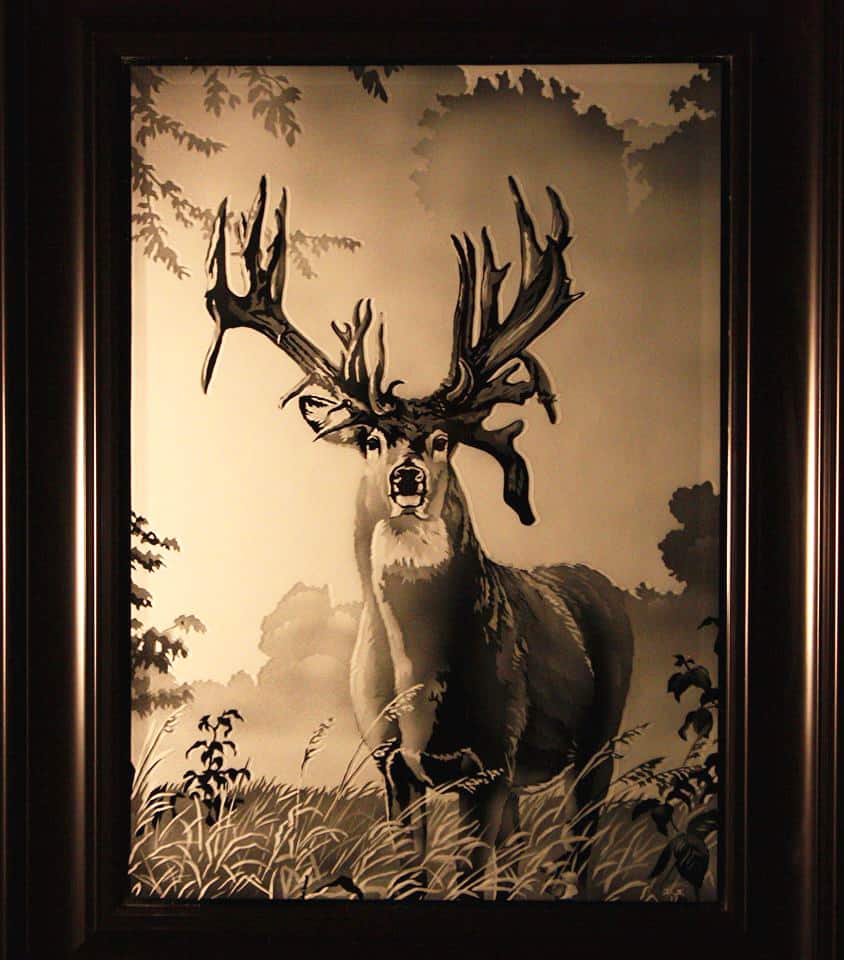
Buck Etched Mirror
The above is a beautiful outdoor scene etched by Dave in what I believe is a framed glass mirror. All the detail in the grass, deer head and antlers is awesome. The beauty of this is the centerpiece is made of nothing but lightly abraded glass.
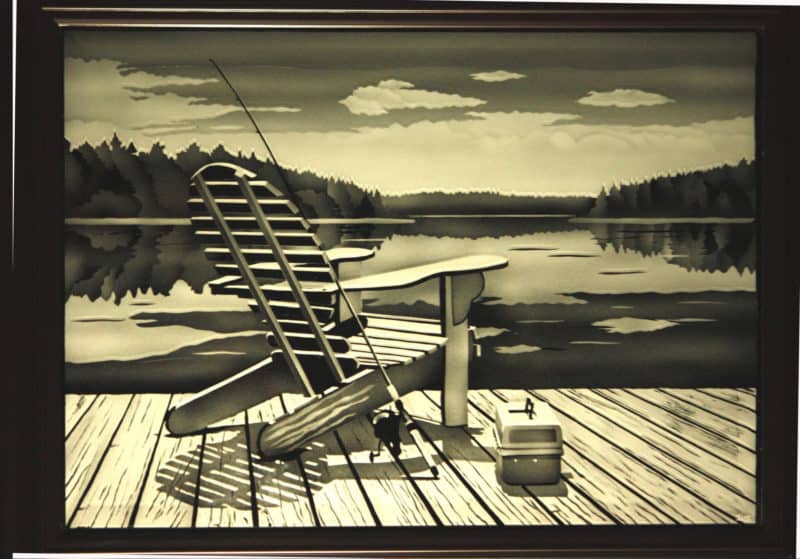
Gone Fishing Mirror
In the above, it shows a relaxing fishing scene of nothing but a chair on a deck with a tackle box and fishing rod overlooking a peaceful lake.
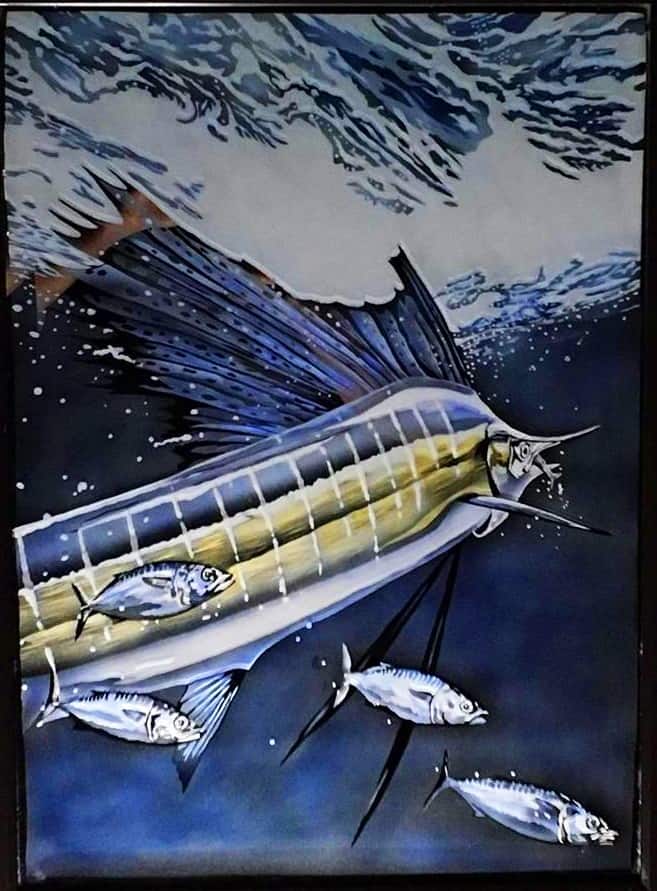
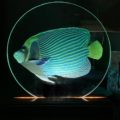
Sailfish Sandblasted Mirror with Sharpie Marker Coloring
Dave has expanded this work of art even further by adding some color to it! Another new idea that we could use is coloring the etched glass with Sharpie markers. Dave says this underwater scene of a sailfish and smaller fish was colored in with permanent Sharpie markers. I discussed using some glass paint such as this here and permanent glass paint markers, but haven’t thought of using typical permanent markers. Great idea!
How Shadeblasting Works
In a nutshell, Dave stated in the past that he prints out a picture onto an adhesive backed sheet that is applied to the glass. Then he cuts out small sections at a time and uses a small sandblasting nozzle with low air pressures to lightly abrade the glass surface with techniques similar to airbrush painting.
Please leave Dave a comment below and feel free to ask him some questions. I’d like to thank Dave for sharing these with us. I hope it has gave you a lot of ideas to expand.
Share this on social media or email by clicking below!


Certainly an interesting concept for the use of color. Beautiful work.
Wow! These are really excellent and what fine details you were able to include. Thank you for your tips on how this can be done.
I’ve played quite a bit with using both sharpie markers and paint on etched glass. Sharpies will allow a backlit light source to shine through.
I don’t use the markers directly on the glass per se but rather color the etched areas by rubbing the ink into the etch using paper smudgers I make dipped in a mixture of the ink and rubbing alcohol. you can break open the markers and remove the felt ink pad and soak it in a small vial of alcohol until the ink all leaches out. Save the colored ink. It’s pretty durable and colorfast once it dries thoroughly. I don’t think it would stay on in a dishwasher but for wall art that just gets lightly wiped down occasionally it’s fine.
Beautiful work.Love the detail.
How do you get the colour on the glas?
@Dave Schulte, I was going to ask how you achieved the smooth application of color. I was guessing you may have applied the marker directly then brushed it around with some sort of solvent. Thanks for clarifying. It’s applied wonderfully. I bet the sharpie marker ink and rubbing alcohol could be placing in an airbrush also
possibly, however the whole reason I chose this way of applying color was to not cover the etched areas but rather just enhance them. I still wanted to see the etching. I would caution against applying too much color. It’s more of a tint than anything. Less is more in this case.
here is a link on how to make the smudgers or tortillions.
I dip these in the ink and rub it in the etch. ..https://www.youtube.com/watch?v=X8b4V-j-14s
@ Dave S, that is a good point. Even with any other glass paint used, it is probably a good idea to thin it considerably.
I like it. Very beautiful. Thanks for sharing.
Nice to know this sort of things