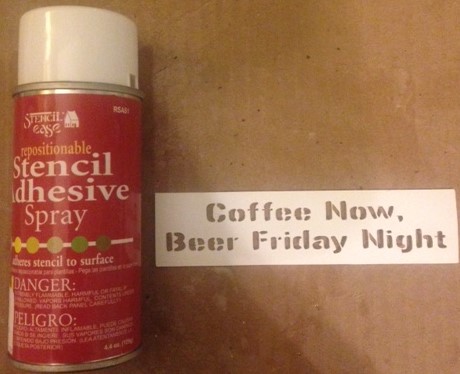
I thought this would be a great idea to share because some folks aren’t familiar with this product: a repositionable stencil adhesive spray.
Recently, I was making my own flexible stencils out of a more durable material so they could be reused many times over. I cut the designs out of this material so they had no island pieces which allows the whole stencil to be pulled in one piece, as you can see in the above white stencil.
Where to Get the Reusable Stencil Spray
Next I found this reusable adhesive spray from Amazon here. They have since rebranded the package but it is the same stuff.
It works great for sandblasting or cream etching designs from a stencil you plan to use for many projects. Once the stencil starts losing its tackiness, simply recoat the back once more.
How to Apply Reusable Stencil Adhesive Test
This is the experiment I did with this adhesive and it works well!
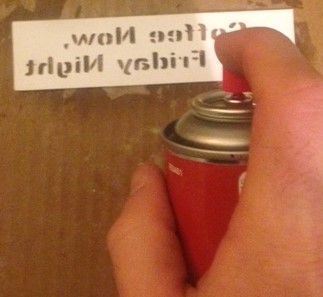
Here you can see me applying an even light coat of the adhesive to the back of the stencil. Make sure you let the adhesive dry for some time and set so that it rests permanently to the stencil.
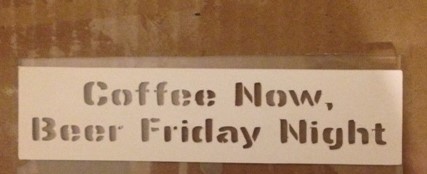
After the adhesive set up, I applied it to a scrap piece of glass to test and sandblasted it.
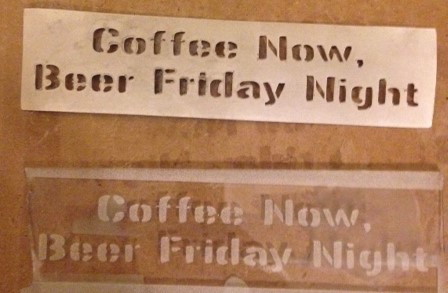
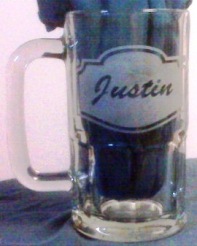
After I sandblast etched it, I peeled the stencil off. As you can see, it turned out well and stencil is holding up.
Do You Even Need Adhesive for Stencils?
Sandblast Stencils
I have seen folks sandblast stencils onto round glasses and ceramic mugs without adhesive and it seems to work well. They do this by pulling the stencil tightly back around the glass with rubberbands. Good idea too, but it is best for light sandblasting. Adding this adhesive will further seal underneath the stencil and you can use the rubber band method along with it. When using the stencils on flat glass, you can’t really use rubber bands to pull the stencil tight so it is best to use the adhesive.
Cream Etch Stencils
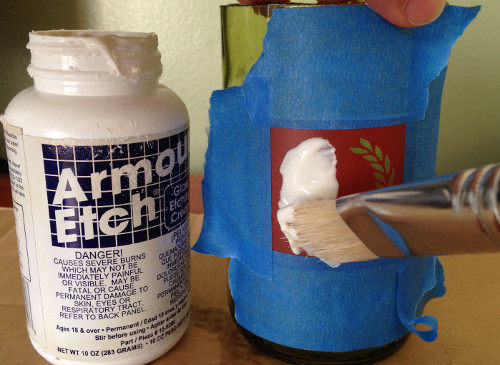
If you cream etch glass, you definitely should use this reusable adhesive on your stencils or else the cream with seep under and etch areas that aren’t supposed to be!
Use for Purchased Reusable Stencils
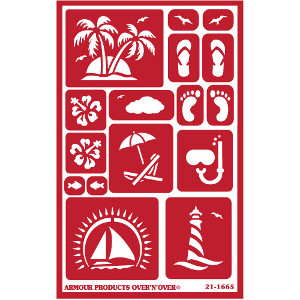
If used with light sandblasting, how long the vinyl lasts is really dependent on how fine of an abrasive is used and how light of a pressure. It can vary, but this adhesive may still help.
In this instance, you could even apply this reusable adhesive spray to the back when the original adhesive is worn off. It is a similar adhesive.
Thoughts?
What are your thought on this idea? Have you used a method like this? Please leave a comment below.
Share this on social media or email by clicking below!

Eagerly look forward to reading each new posting!
Great idea,can’t wait to try it!
Thanks for the info! I am just starting out with etching/painting mugs & finding it difficult to make my own stencils. I want to make reusable stencils. What materials are necessary for this tasks? Any suggestions from any one will do.
I need someone to make a reusable stencil for me. Of course , I don’t mind paying them for it. And will keep them making them for me. Do you know of anyone? 210-535-4035 , my cell number. I’m a musician and want to etch some wine glasses. I have the design. Can anyone help me with this ? Thank You, Rob…..
Thanks for the information about this item. It is very helpfull.
Thanks very much for all the advice and techniques that you share with us for becoming a creative individual. I really enjoy your free knowledge and the inspiration.
I have a dremel and some etching cream, but I haven’t done any major project with it as yet. For now I am just getting excited just knowing what I can do because of your ongoing posts.
Thanks much!
Hi Eric,
For reusable stencils, I’ve been using old X-ray sheets for years now and it has done a wonderful job all these years. The spray adhesive I would normally use for this purpose is a low tack adhesive and access can always be removed afterwards with an eraser or dried adheve rolled onto a ball.
Thanx,
Keith
@Keith, this is an excellent idea. I’m not very familiar with xray sheets. Do you know roughly how many mils thick it is?
Thank you
@ Deborah, the first step is to design them without an island in the stencil so it all comes up in one- hopefully I’ll put something together soon on how to do with with Photoshop.
Then you can use any sign vinyl or sandmask with adhesive that isn’t too tacky and to your desired thickness. Once the adhesive wears out, just coat it with another layer of this reusable adhesive.
Hi Eric,
I’m not sure how thick the xray sheets are although I know you do get them in different thicknesses. Judging just by looking at them, I guess theycould be anything from .13 through to .5 mm thick. It all depends what is available at the time. Also. it does not need to be unused film as most of the time I use ones that have already been used as the black in the film make it easier to mark and cut them.
I normally design and cut my stencil on old newspapers first. I then take the paper stencil, fix it to the film with low tack adhesive and lightly spray white matt water based paint around the edges and after removing the paper stencil I cut the film stencil with a craft or utility knife.
These stencils I mainly use for “freehand” work as I just use them to mask off a guide to which I will then work. I promise you, I have stencils which I’ve been using now for more than 15 years! You should really try it.