Gilly Saucedo recently sent me a bunch of interesting etched photos of his work and he was nice enough to allow us to feature him. I picked just some for this post and will share others in a different post.
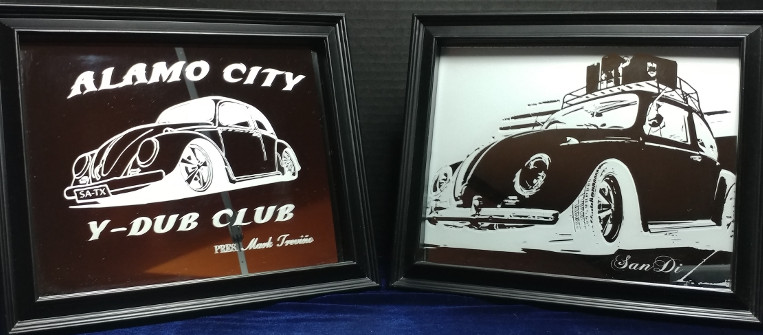
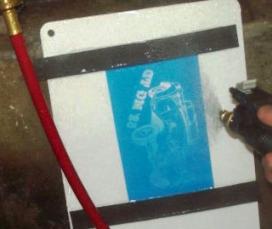
A great example of two different types of etchings of a classic Voltswagon Beetle. The left shows a more common stencil design that was drawn specifically for sign stenciling. And the right is an example of a photo converted into a black and white scale and used as a etching stencil.
I’ve been meaning to discuss the idea of photoshopping real life pictures into street art-type stencils and then etching them. Since he shared a lot of these types of photo etchings, it would be good to discuss a little bit about this process too.
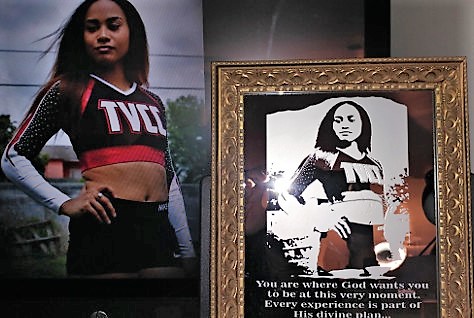
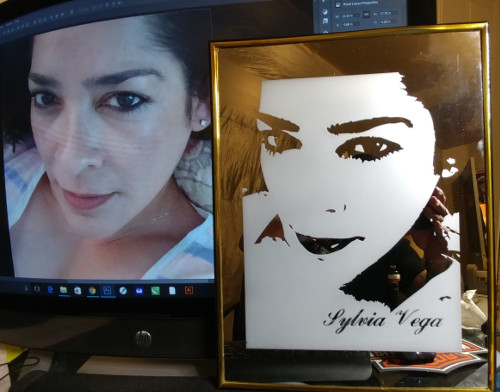
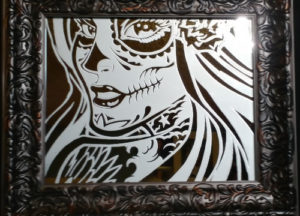
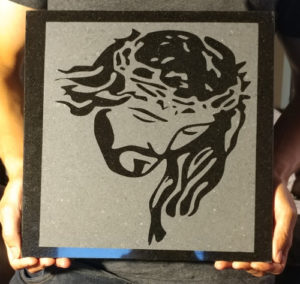
Most of these he shared seems to be photos that were transferred into a gray or black and white scale in a photo software like Adobe Photoshop. This process usually requires additional edits too clean it up with tools such as the eraser, pen, and paint. You can also adjust the color levels to transform color photos into a black and white street art type stencil design.
Transferred Personal Photos into Etching Designs
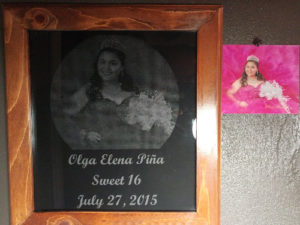
As you can see from the below examples, Gilly shows that he took personal photos from the computer and made designs into them to etch.
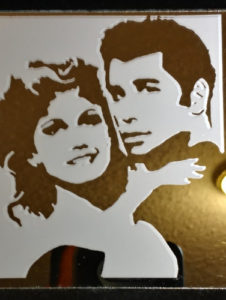
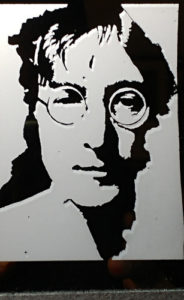
Other Famous People Transferred into Etchings
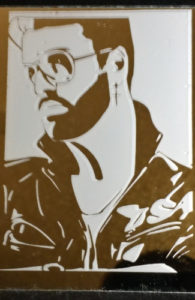
Gilly also shared these projects he etched of famous people based off of photographs. Some includes John Lennon and John Travolta from the movie Grease, I believe? If anyone else plans on doing this, you can search online for stencil designs already complete of famous folks.
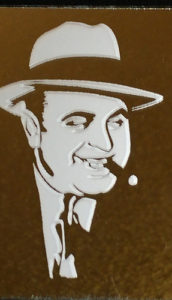
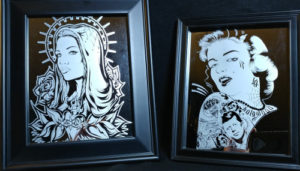
Stencil Art of People Etching
Gilly may be able to provide more information on these, but these etchings appear to be based on stencil art which a designer drew up specially for projects like cutting sign vinyl art. There may have been based off photos but manually drawn in photoshop or illustrator.
Etching Halftone Photos
Last but not least, Gilly also showed this example of a halftone which shows the actual photo the etching was based off on the right. The halftone process is something that is more well know for most sandblasting etchers and we discuss it in the members area too. This process also involves converting pictures in software like Photoshop but with a different conversion technique to make it into small dots and requires the photoresist stenciling process.
Gilly thank you so much for sharing your work! It is much appreciated!
For anyone else, please leave any comments below for me or Gilly, as he deserved some thanks. Now, this site has discussed 4 different methods of etching photographs: the above street-art type stenciling & halftone, sketched stenciling and shadeblasting.
Share this on social media or email by clicking below!

Awesome work!! Great artist!!!!!!
Thanks so much for sharing .. your methods are inspiring me to maybe try something a little bit different.
Hello people…
I found stencilgram.com
It is not a d/l program or app…just import pic, play with 3? settings, export tooooo easy
Thanks Larry. It appears the site is down at the moment but I will check it out when it is up. I used to recommend a site like that in my ebook a while back but that one ended up being taken down too!
Thanks
Thanks for the info. I hope to try it soon.
looks Great!
This is great, I would like to try it.
I’ve been interested in turning photographs into stencils and etching them for many years, but have been unwilling to invest in Adobe Photoshop or another Illustrator program afraid to take on the learning curve which would be required. Is there another easier, less costly way to convert photos into a black and white scale? Several years ago, there was an application created specially for this process with etching as the final art form, but was only available on the internet for a brief time and then disappeared; but it too was quite expensive, over $2500 if I remember correctly.
Awesome photo etching, How did you do that? I’ve been trying to etch a photo for yrs and have gotten no where. Also tips for taking pictures of Mirrors and glasses that I’ve etched.
An idea that I never thought about. Great work
Hey Jennifer in regards to photo etching i use photo shop and Adobe illustrator. It takes some time and depending on the quality of photo will depend on how much work you would have to do to it. I find that taking a picture of something done on a mirror is best to have the mirror a little tilted upward. If there is a white ceiling works a little better i think. And have it somewhere high or at least where you can take the picture of the piece from the bottom up where your reflection doesnt come out on the piece itself..zooming in from various distance also migjt work but always fome in front but bottom of piece at least 1 to 2 feet in front or in an angle but below the piece…hope this information helps you..