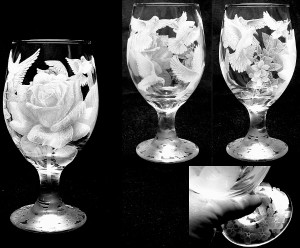
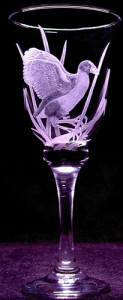
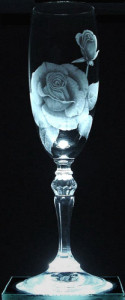
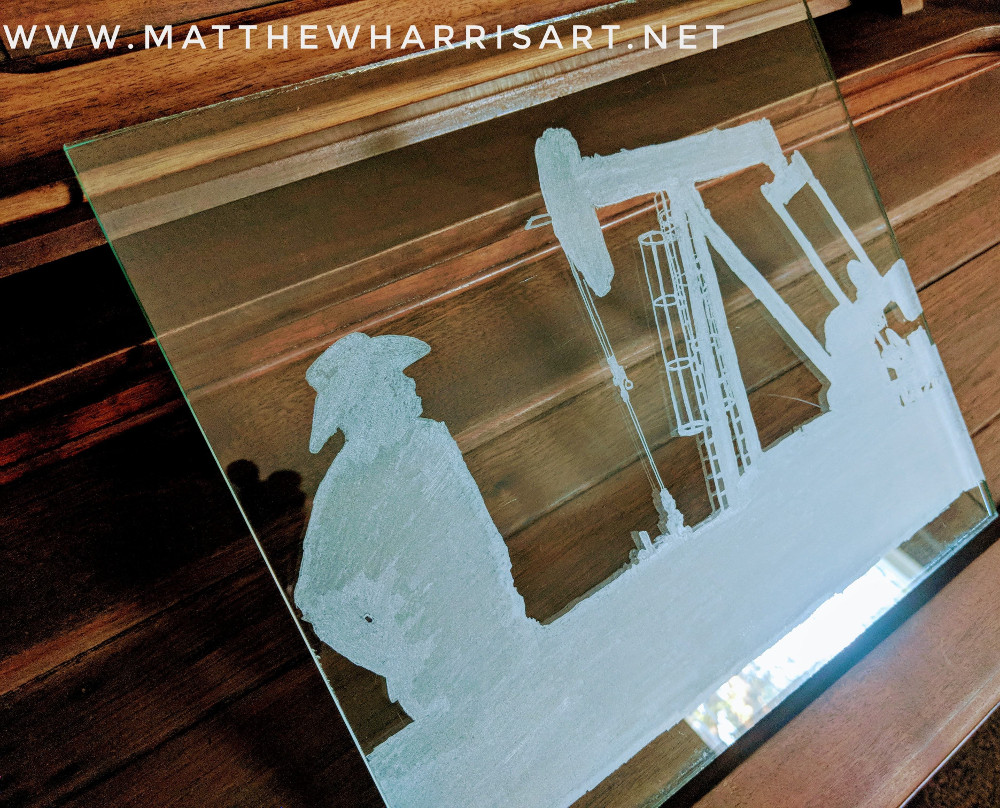
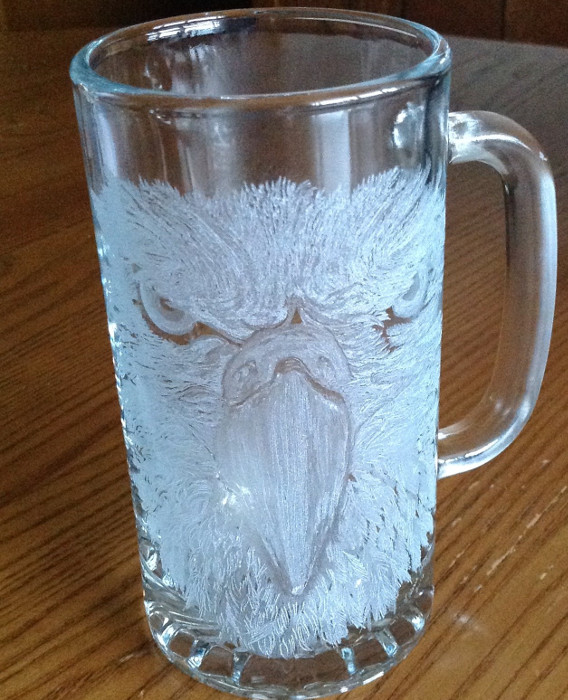
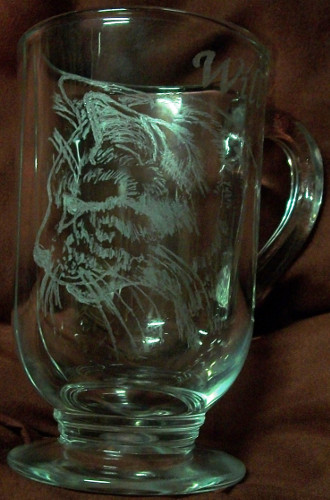
Here are some of the “shaded” engraving pieces I have completed.
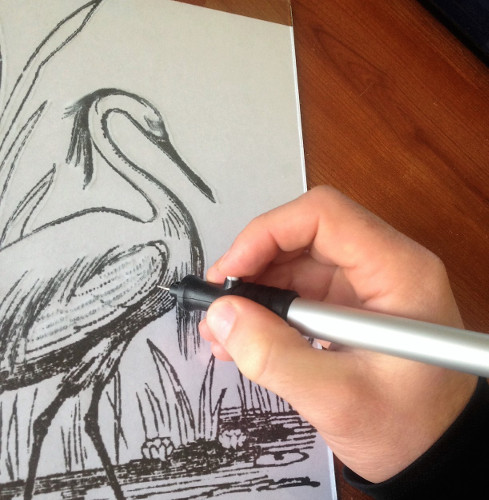
These are engraved using a micro-motor (held in the hand) and good quality diamond, stone and rubber abrasive burs to develop different “shades” from quite bright (diamonds) to darker areas (which are achieved by polishing areas back with stone and rubber burs). Some of the more subtle transitions in shade are achieved by holding the burs directly in the hand and rubbing it on already engraved areas.More of my work, and a few hints and tips on creating this type of engraving can be viewed on my blog: www.jeansart.biz
Share this on social media or email by clicking below!

Awesome work!
Absolutely beautiful
WWOW!!!That is awesome work definetly going to your blog!!!
Excellent work. Very very good technique using the burs. Kudos !! Please share more of your work in the future. 🙂 !!
That is so amazing I can’t wait to get my Glass Etching Secrets to lean how to do that!
They are beautiful she is ya very talented lady
@Jay, I provide some basic info on rotary engraving but not to this extent. Most of it leans more toward sandblasting, sandcarving and cream etching. Thanks
very nice!
Ola Eric.Boa noite .Gostei muito são peças lindas,otimo trabalho deste seu amigo,também os seus.Obrigado por estar me enviando estes belos trabalhos .
Very beautiful work. I hope to get half as good as she is. Please share more of your work.
Beautiful and very time consuming to do.
I love it,Robert,i go to try it also,Thangs
Your engraving art work is outstanding as well as beautiful !…….Better than Waterford or any engraved glass I have seen. Come to think of it your work is equal to or better than Lesley Pyke’s art work (Lesley works in the U.K.) You have renewed my interest in glass engraving, now if I can just discover the secrets to shading it would be great.
What exceptional work – makes me disgustingly envious of your talent!!!
Wow! I am envious, which means I am going to learn how. I will use my Dremel. I already have the bur stones of various shapes and make up. Time will tell.
Wow… A great big THANK YOU to all who have taken the time to comment here, I am thrilled to think that this post might have inspired some to pick up a drill and give it a go 🙂 Cheers to you all!!!
This is fantastic work! This must have taken time and patience to complete. Have tried engraving glass with a high speed Power Carver rotary tool and still learning. Which micromotor tool do you use and how do you get such fine shading? Would love to continue in this process. Thank you for displaying your work.
@David: Thank you!! Yes, it does take time and patience to complete 🙂 You can see the micromotor I use on the “Beginners” page on my blog: (www.jeansart.biz)… one of the biggest things I found, through experimenting, was the need to use slow speeds on the drill, and good quality fine grit burs, there is a bit of a quick write up about that on the “Hints and Tips” page on my blog… the key is to experiment to find what suits what you want to achieve and practice, practice, practice… oh, and do have fun with the process 🙂
Very detailed work
Just Amazed in the work she’s done. I would love to see more of her work done by her emailed to me if all possible.
@Oscar, thank you for your kind comment. As your email address is not shown here you can view more of my work at http://www.jeansart.biz or on my facebook page: http://www.facebook.com/jeansartglassengraving. Cheers!!
You work is amazing what a talent thank you for sharing with us
exceptional work, this is what i am aiming for in my work, so is the sand blasting, i guess i need to start playing with the dremel more
AB-SOLUTELY breathtaking!
Stunning, and so awe inspiring !!!
Absolutely stunning!
Can you tell me what kind of Micro motor you are using?
Thank you, everyone, for your kind comments, most appreciated!!!
@Dianne Lynch: I use a foredom micromotor, it has a variable speed foot control which allows for altering the speed while the drill is on the glass, this allows for control over the shading than working at a set speed does 🙂