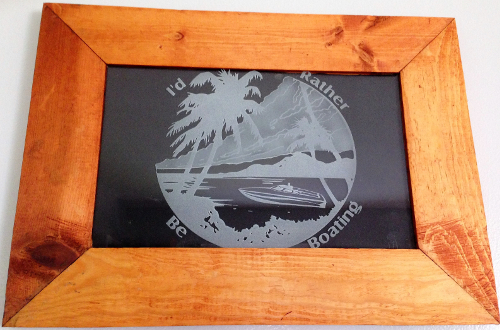
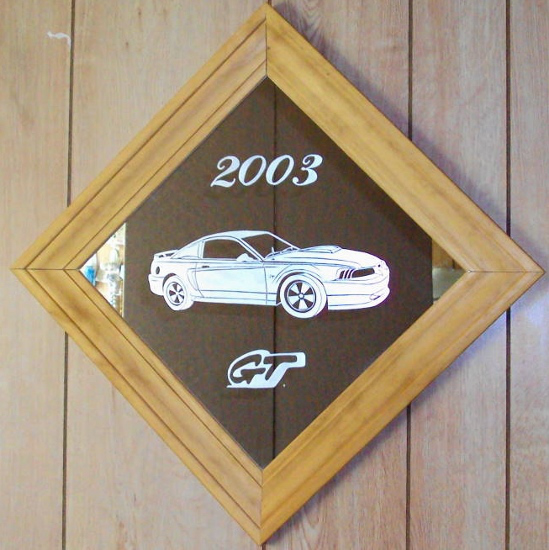
In this post I just wanted to show a simple etched project I worked on and built a wooden frame from scratch. This is something you can do too. I am working on putting together a more in-depth tutorial which will be posted in the member’s area.
In a nutshell, here are the steps I took:
1 . Cutting frame
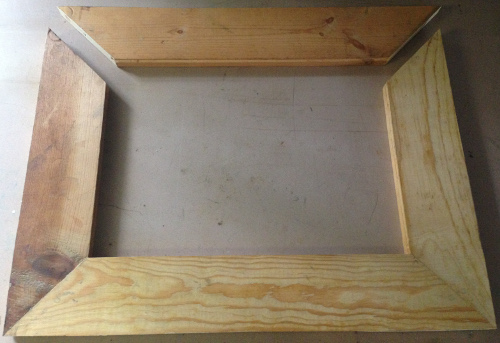 I found some scrap wood and cut it in 45 degree angles to my preferred dimensions. There at least a couple ways to cut out the groove for the glass to rest. The best tool to use is a router.
2 . Cut glass to size & make sure it fits
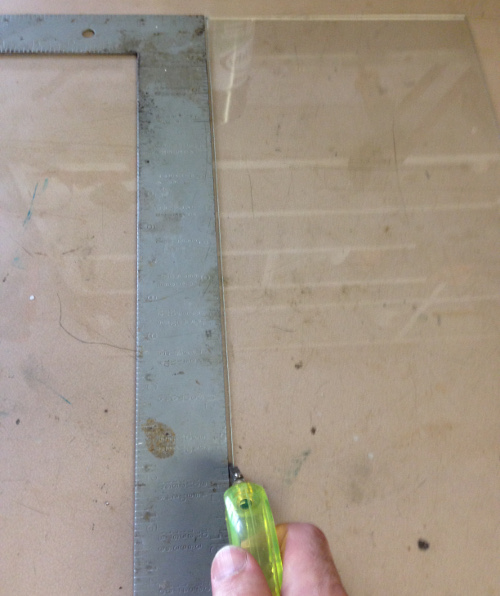 Then I used my Toyo glass cutter to cut a sheet of glass to fit into the groove area of the frame.
Place the glass into the frame to make sure it fits. I made it slightly too long on one side- in this case, cutting off a very small piece can be troublesome (trust me, I’ve cracked and ruined main nice pieces of glass this way). Sometimes it is easier to make the groove in the frame deeper with the router which is what I did.
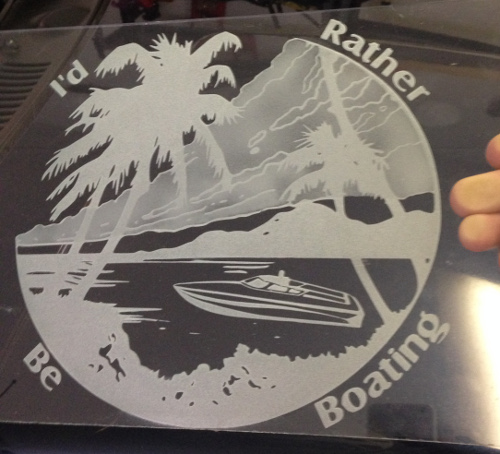
3. Design your stencil & place it on the glass
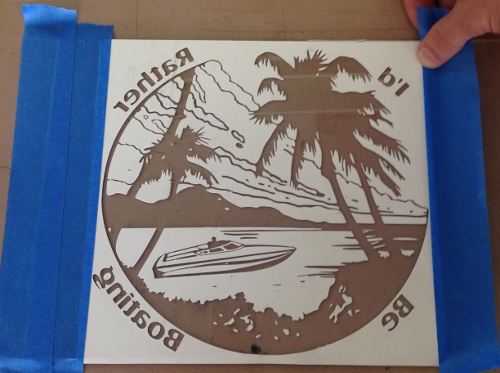 I found a cool scenic tropical design, then found a boat design and put them together to create the full scene. Then I added the phrase “I’d Rather Be Boating” in a circular manner around the design with the arc tool explained here. Especially when etching glass deeper than the surface, it looks best when looked at from the opposite side, so I also had to flip the text for the stencil.
4. Etch your glass
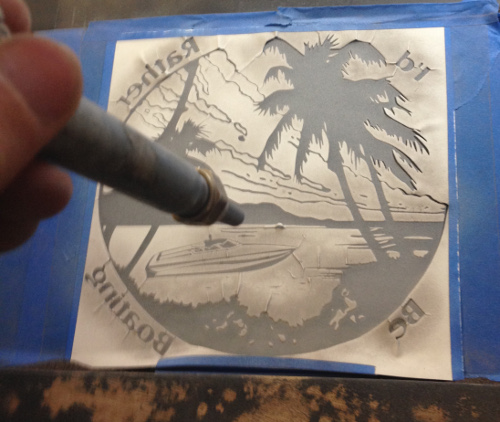
5. Clean up and place it in your frame
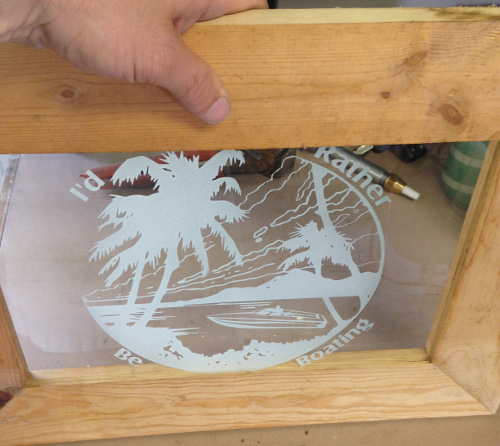
6. Shade etch clouds
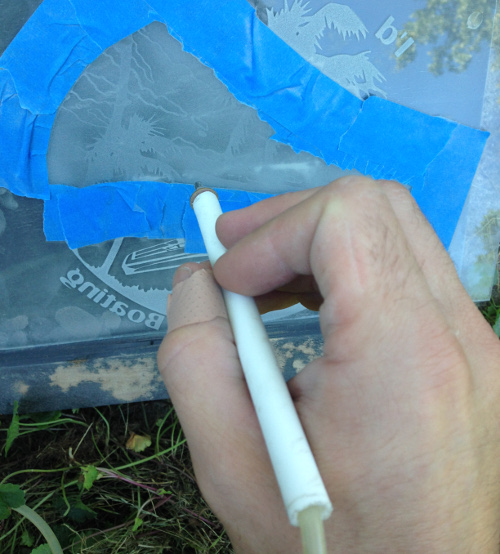
It turned out a little better I suppose.
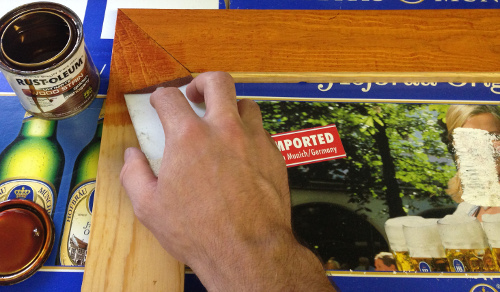
7. Stain the frame
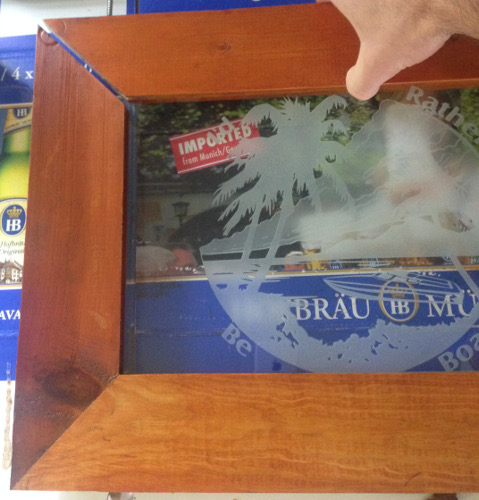
8. Place the etch glass in the frame and fasten the last side.
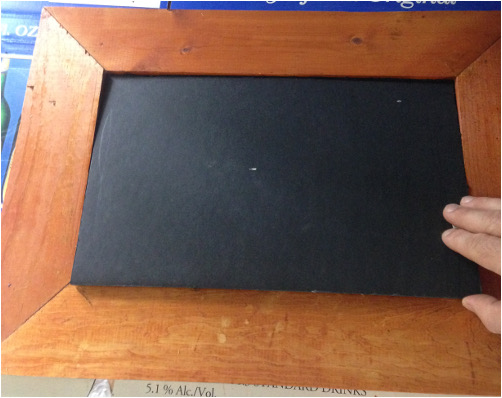
9. Add backing
I appreciate you checking this out. Please leave a comment below if this helped or if you have a question. Also, has anyone made these recommend other tips they learned along the way? Thanks
Share this on social media or email by clicking below!

Great work brother. Want to thank u for all the helpful tips and information, very helpful..
Thank you for sharing. I’ve done picture frame etching, but never made my own frames for my etchings. Good work.
Thanks Eric,
I also make frames for my mirrors and glass pictures out of old fence wood. They come out pretty nice. But I like your frame ,I’m going to try it for one of mine.
Sherry
Currently working with 6mm glass, polished edges and heavy stuff. Was proposing to use a wood block stand but could be better in a frame, making it heavier still. Probably hire scaffolders to get it on the wall. (Not really). But its great fun doing it. Love your simplification of the work, gives a lot to think about.
Thanks all.
@Sherry- great idea! If you would be open to sharing photos of them, I would love to see it.
@Ken, sounds like some fun projects as well. Please let me know if you would be open to share your photos. Thanks
superb,but what is small sand blaster.
Great work! I do enjoy seeing talented people’s work. I am interested in etching glass not sand blasting so I really admired your boat scene.As I am 80 years old I really enjoy my Ozito etching tool and teaching my 2 grand daughters to etch drinking glasses but! that is the extent of my limited ability.
Hi all,
I’m from Cape Town, South Africa and I have been appreciating work from a lot of artists here already and must say I do enjoy the tips and tricks! I started decorative sandblasting quite a number of years ago (about +- 20 yrs) and think that I am fairly proficient by now. I particularly enjoy combining sandblasting with engraving (engraver and dremel type machine). Maybe if I gain more confidence in doing so, I will send some pics of my artwork to the post to be appreciated by others. I also make glass furniture by recycling discarded glass.
Been a follower of yours for several years now. Want to let you know how much you’re appreciated and that your ideas which you share via this site have kept me plugging away at this art form.
@Nadina, great thank you so much!
do you happen to have any more cd’s or are they called dvd’s that are indian stencils like this one is?
if so can you please get back to me about this?
thanks from lori
Lori,
We have the CD with some patterns but they don’t have indian stencils. Sorry about that
Thank you for giving me information on how do the back ground. All of it was great . Very nice.