In this post, I wanted to share a recent project to give you some creative ideas that combines many craft forms into one project which are:
- Glass etching
- Candle making
- Bottle cutting/ glass cutting
- Glass painting
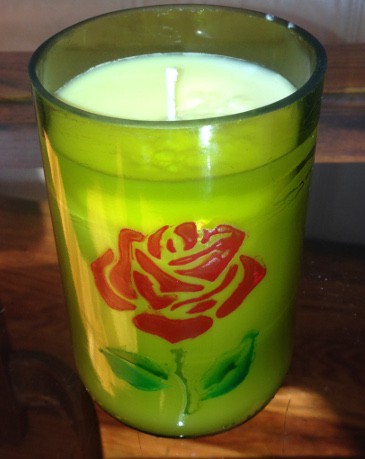
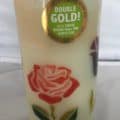
In the below you can see the completed project of a cut wine bottle turned into a candle with an etched, then painted rose on the front.
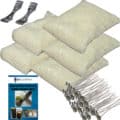
The bottle cutter candle making kit includes everything needed to make great smelling candles easily at home. The only thing you need is a stove to melt the wax and heat up water.
Various kits are sold on Amazon in the links below:
- Deluxe Candle Making & Bottle Cutter Kit– with Glass Bottle Cutter, 2 LB Soy Wax, 2 Scents, Wicks + Holders & Pitcher.
- Starter Candle Making & Bottle Cutter Kit: everything included in the deluxe kit except the pitcher since many folks can get around without them.
- Candle Making Kit Only– this is a very basic kit to get you started on candle making only. It is ideal for those that already have a bottle cutter since it is not included.
The kits come with instructions which explain exactly how to cut glass bottles using the included bottle cutter tool and make them into candles with the included wax, fragrance and supplies. However, we also included a brief overview of the steps to make some homemade candles here.
How to Make Glass Paint Stick Better
You may be wondering about why these were etched first and then painted over it. The reason behind this is etching the glass may help the paint stick better. When the glass is smooth, the paint touches the edges of the stencil causing it to peel off when the stencil is pulled up. An etched surface prevents the paint from smearing or running also. The abraded glass surface gives the paint more to grip onto.
For this project I wanted to do a trial using etching cream prior to painting, and it worked fairly well. Typically, I sandblast etch glass first since it has benefits. Sandblasting gives the paint an even better abraded surface for the paint and you can engrave deeper so the paint won’t even touch the stencil.
However, the one benefit of using etching cream is it’s a more convenient route since it involves less setup than sandblasting. I know some folks don’t want to go in the garage during the cold winter for sandblasting.
Glass Paint Used
As discussed in older posts, we now offer permanent paint that can be baked on and sold on Amazon here.
Fixing Paint Mistakes
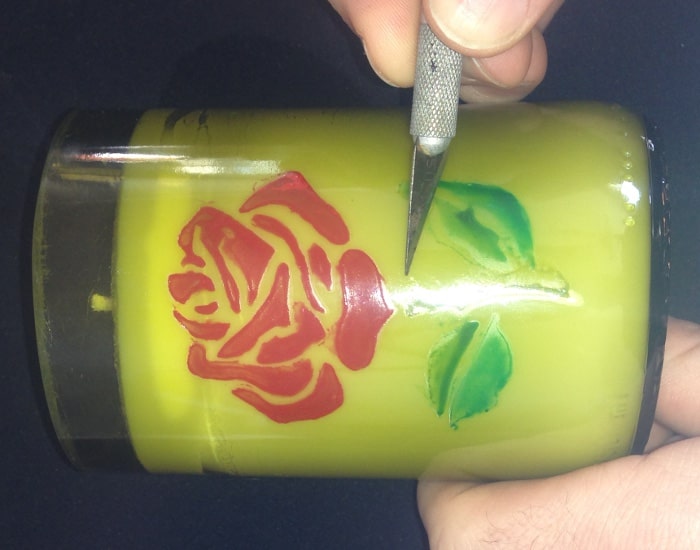
After doing this trial with etching cream, you may see that the paint still had problems when it was applied. In some cases, the paint seeped under the reusable stencil that we tested. If this happens, I suggest waiting for it to dry for about 24 hours and scrap off the mistakes with an Exacto knife as I did below.
Some tips to prevent paint from seeping under the stencil are:
- Use a stronger adhesive
- Clean the glass surface well with rubbing alcohol
- Sandblast the stencil first
- Use multiple very light coats of paint while waiting for it to dry in between coats
I’d like to hear from you in the comments below. Please leave me any questions or suggestions on what you discovered works well.
Share this on social media or email by clicking below!

I’d love to show you some of the stuff I’ve done. With sn $8 etching machine and some incandescent glass paint. I did a 2’x3′ photo of pirates of the Caribbean . I keep it in the front window of my house. And it looks beautiful when the sun shines through it.