In this post we will discuss how to sand glass in general, how to smooth glass edges that stick out and provide information on diamond sandpaper.
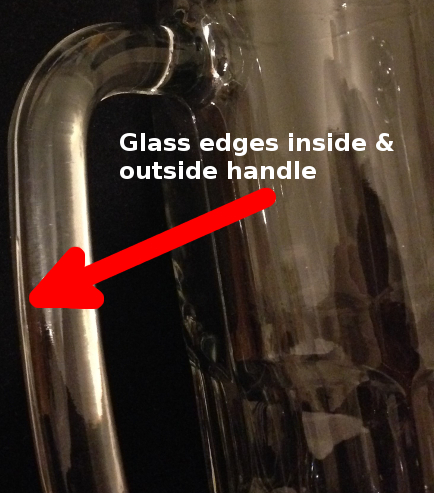
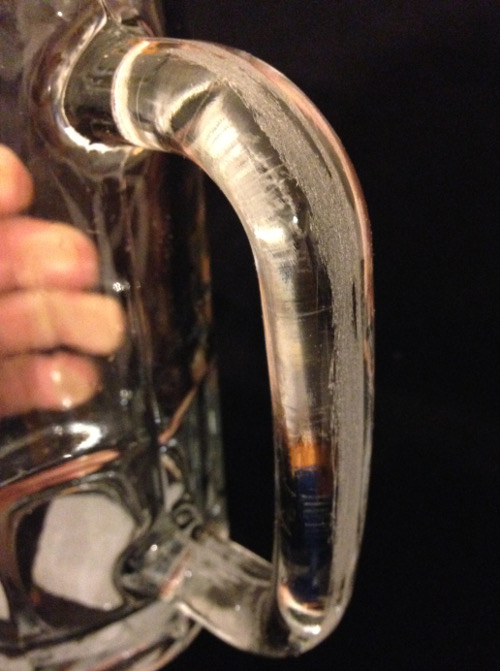
We recently ordered about a dozen or so low cost beer mugs to etch on for gifts. Although these were inexpensive, the handles had edges that stuck out through the middle as shown in the below picture. It made it quite uncomfortable to hold, so I decided to sand the edge down.
To sand glass, you will want to use sandpaper that is harder than glass. The best item to use for sanding glass is a diamond sandpad or sandpaper. Diamond sandpads are some of the hardest abrasives which will not only sand the glass edge quickly, but it will also last a long time for several uses.
If you don’t have diamond sandpaper, the next best type is silicon carbide sandpaper. Most sandpaper you usually find in local hardware stores is made out of softer materials such as aluminum oxide or garnet.
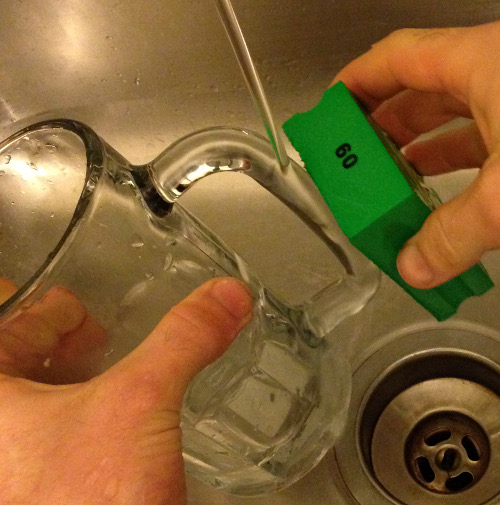
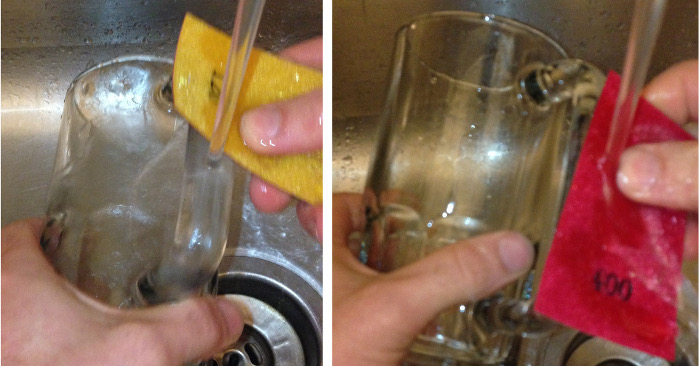
First, you will want to sand it with a courser grit to quickly smooth down the edge. I started with the 60 grit diamond sandpad as seen below. I did this over running water in a sink. The water will help prolong the life of the sandpad, provide lubrication, prevent the sandpaper from clogging up with glass and prevent toxic silica dust from getting in the air. You can also occasionally dip the pad in a bucket of water if you don’t want to work over a sink.
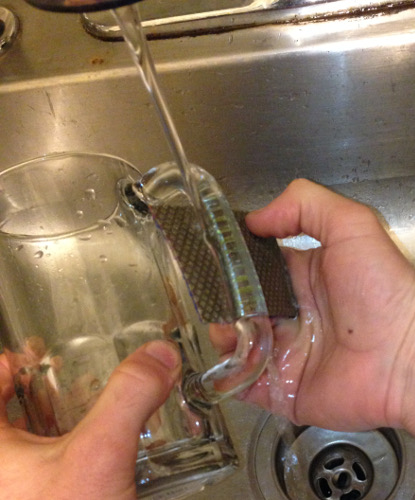
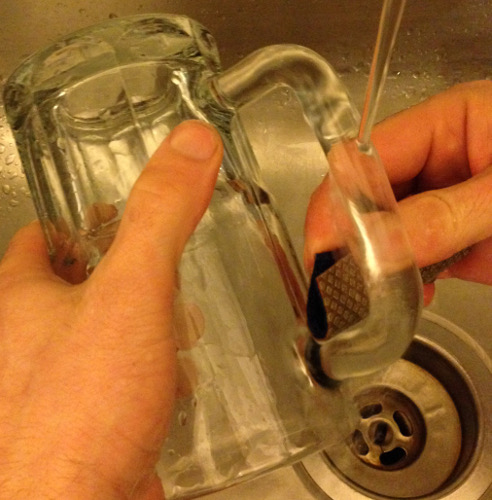
The diamond sandpads provide comfort with it’s easy to hold durable foam pad. However, the edges on the inside of the handle was easier to sand with a thin diamond sandpaper. As shown below, I was able to slightly bend 60 grit diamond sandpaper to smooth down the inside.
Then I follow it up with finer grit diamond sandpaper to polish it a little bit smoother. I used 120 grit and finished with 400 grit.
Although this process smoothed down the protruding edges and made it much more comfortable to hold the mug, it still didn’t look pleasing. As you can see in the photo below, the handle now had a lot of scratches. I could have put more time in sanding it further with the 400 grit sand paper but it would still have an etched look.
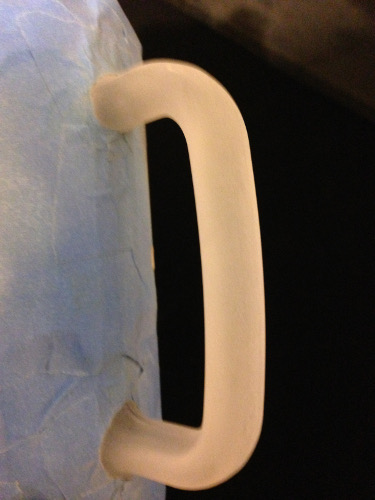
In this case, I decided to simply sandblast the whole handle to give it a frosted look as shown below.
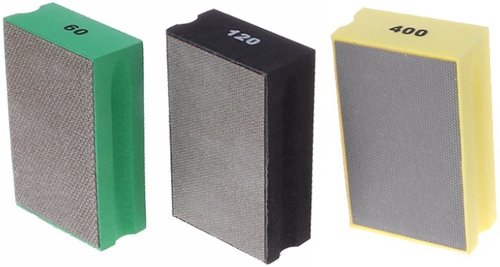
Diamond Sandpad Types & Grits
Even if you order higher quality glassware (which is more ideal) that doesn’t have defects such as these edges, having diamond sandpads in your workshop is a good idea. If you work with any types of glass, these diamond sand pads come in handy. These are especially a good ideas if you cut glass sheets to size for picture frames. By quickly running these sandpads over the cut edge, you will prevent further glass fractures and getting a cut on your hand.
I would suggest 120 or 400 grit for this.
Where to get the Sandpads
We now offer many different options such as:
- 3 Pack Diamond Sandpad Kit– Comes with 60, 120, and 400 grit on a thick foam pad as seen on Amazon here: https://amzn.to/2AOE6ca
- 3 Pack Diamond Thin Sandpaper Kit– This also comes with all 3 grits but is in a thinner pad or sandpaper type thickness that is more flexible. It can be seen here: https://amzn.to/2SWaYqr
- Individual Diamond Sandpad– Or you can choose from either the 60, 120 or 400 grit here: https://amzn.to/2srtsDB
Share this on social media or email by clicking below!

Hi Eric,
For the handle to be more smooth, I normally fir a drill chuck to a desk grinder and put the velcro-backed diamond sanding disk on the pad. To finish properly, I use uo to 1200 grit paper on the pad and because it rotates at high speed, I can get an almost flawless polish to the handle (or cut edge for that matter). Unfortunately you will have to stick to sanding the inside of the handle by hand. Also, remember to have a spray bottle handy when using this method on a bench grinder option.
@Keith, these are excellent tips. Thank you for sharing