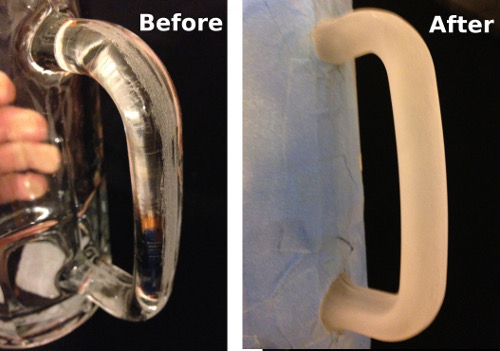
I had a recent post which discussed how I had to sand edges of a defective glass mug but it created scratches on the glass. In that case, I decided to frost the whole handle instead of putting the time to buff out the scratches. Below you can see the before and after picture of the handle being frosted with sandblasting.
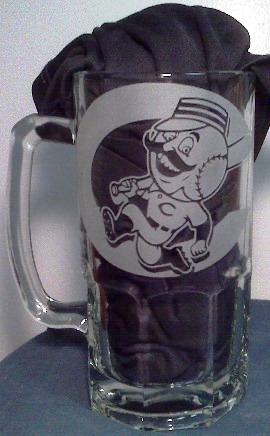
In this post, I wanted to give you this unique idea of etching the handles of glass cups or mugs and share this recent project of a college logo etched on the surface.
How the Handles Were Etched
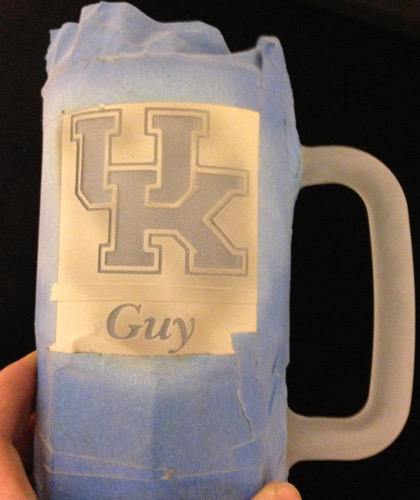
- First, I placed my stencil of the UK logo on both sides of the mug and taped around it.
- Then I tried my best to tape a smooth mask line around where the handle meets the mug. As you can imagine, it is difficult to do with masking tape. So I then used an Exacto knife to straighten out the circular line around it.
- For this project, I used 180 grit aluminum oxide and sandblasted the handle until the majority of the scratches disappeared.
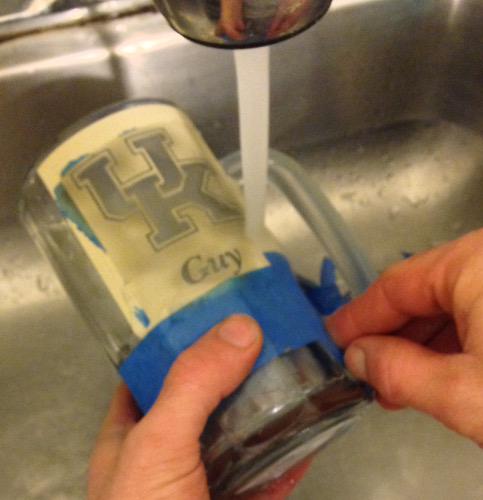
- Then peel off the stencil. I like to do this while running hot water over the stencil because it makes it super quick and easy to pull everything off.
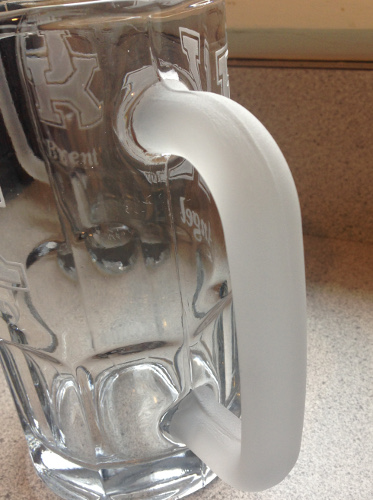
- The handle looks nicely etched. However, the etch lines between the handle and the mug body were still slightly jagged.
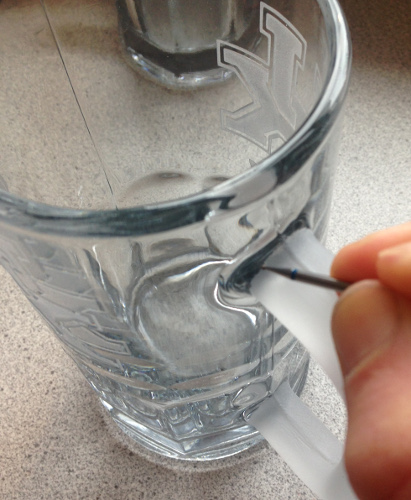
- To straighten the circular line out, I used a diamond tip hand scribe just like we talked about here. These scribes are great to have around to quickly fix little mistakes that happen when sandblasting or any type of etching.
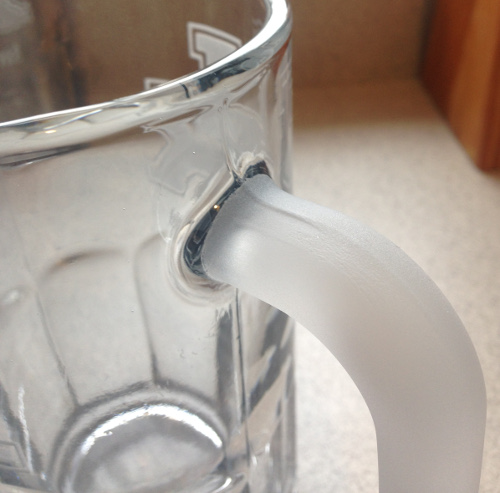
- The photo below shows the jagged lines cleaned up well.
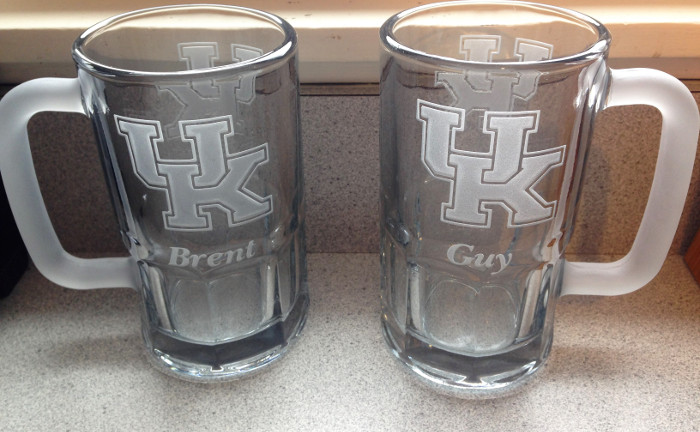
University of Kentucky Etched Mugs
The below shows an overall completion of the two mugs that I recently etched as a gift.
Pros & Cons of Frost Etching Mug Handles
I am sure many of you are already thinking etching the handle may be a bad idea because the oils of your hands may get into the frosted handle. It is a very highly touched area after all.
We will see how this goes, but in my experience most frosted areas that get exposed to oils and fluids such as beer 🍺 washes out well in the dishwasher.
To prevent damage, you can add a protectant to the frosted glass. As a permanent solution, you can use this permanent bakable paint as a protectant. To keep the frosted look, I would dilute the white paint considerably and apply that. You can also add other colors.
I’d Like to Hear Your Thoughts
Please leave a comment below. It is good to hear your thoughts and recommendations because it helps everyone think of different and better ways to do things.
What kind of protectant do you use for your etched glass?
Share this on social media or email by clicking below!


Hello Eric
In a case like this, before you even consider putting in the booth, I have and still use liquid resist. As you aware liquid resist is NOT as durable as tape or mask, but you are only doing a frost/flash.
I also use liquid resist on erratic shaped stone, most all people will “face” the stone or rock (grind or blast flat 1st”.” To me, it looks like a decal when finished.
I love doing rocks that are from nature, demands more $$$
Larry, this is a great suggestion- thank you! I have seen a liquid resist product from Armour Etch but haven’t tested it yet. Which type of liquid resist do you use? Do you use a sandblast filler for it or something different?