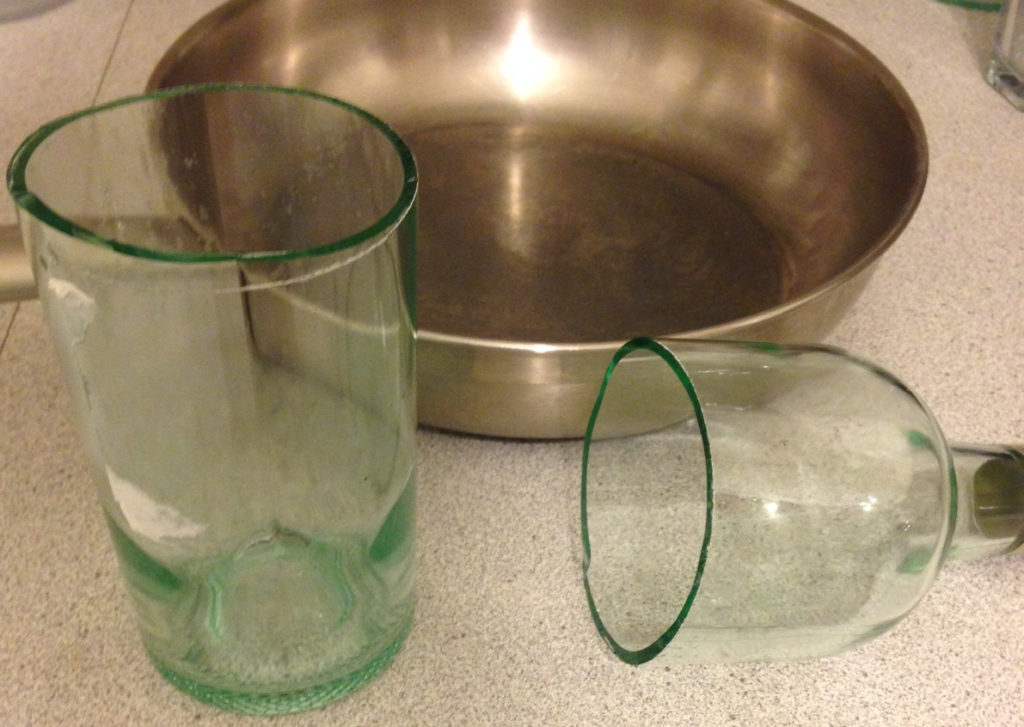
However, have you ever had the glass bottle just break in unpredictable ways?
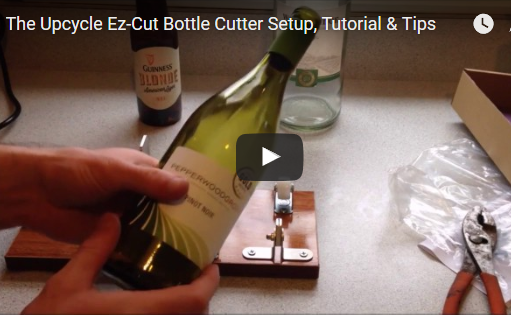
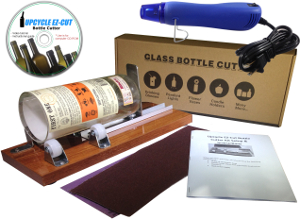
There are a few ways that this might be the case, and the instruction sheet that comes with our brand, Upcycle EZ-Cut Bottle Cutter, goes into full depth to get this down perfect.
One tip that I haven’t went into depth is the hot and cold cycles should be contained. What I mean by this is when hot, then cold water is applied, it should be done in small amounts so that it drips mostly along the scoreline.
If you pour hot water and it spreads all over the bottle, then you may break it in undesirable areas. Glass as we know it is very fragile and not very forgiving while working with it. Just as a dish coming hot out of the dishwater and rinsing it with cold water all over will break it, so will a bottle regardless of how well the scoreline you did was.
How to Properly Apply Hot, Then Cold Water on a Bottle to Separate It
The below solutions will allow you to apply near boiling water over the scoreline in a more contained, narrow stream:
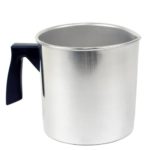
- Pot with a Spout: use a pot with a spout like the below example. These are actually included in our bottle cutting/candle making kit or sold separately here.
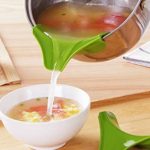
- Attach a Non-Drip Pouring Spout: this can be attached to any pot or pan like these sold on Amazon here. They are usually about $10.
- Coffee Pot: If you have one, just use this! These have spouts to allow you to pour a light stream better.
- Small Pot: a pot that is not very wide around will be easier to pour. If none of the above solutions are available, this may work good enough. Most sets of pots and pans have a tiny pot included.
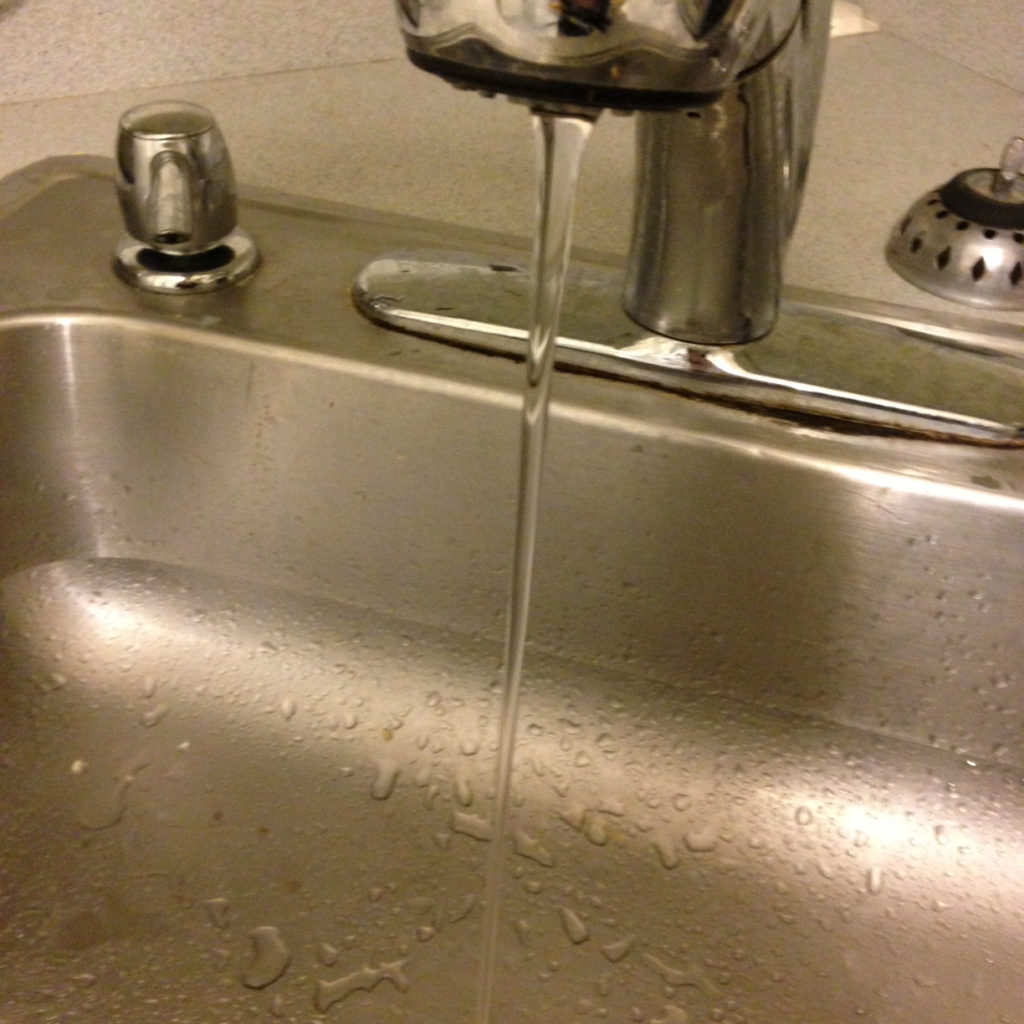
To apply the cold water after hot was applied, just turn your faucet on for a light stream as shown below:
Alternative Methods to Applying Heat for Bottles to Separate
The above hot/cold water method is the most popular. However, the bottom methods are one of the better options to applying heat in my opinion. After heat is applied, you would simply trickle cold water the same way.
Mini Heat Gun: As you may have seen, my favorite way is to just use our mini heat tool shown here. You can use a regular heat gun, but it isn’t as good since it covers larger areas. The mini heat gun allows you to contain the heat better along the scoreline. The heat gun route is more convenient with on demand heat, less of a hassle and faster. Just plug it in and aim it at the scoreline for about 40 seconds while turning it.
Candle Flame! A candlestick or those without a glass container is best because it aims the heat at the scoreline better. These candlesticks are some of the lowest cost I have found. Usually, you need to heat up the bottle for about 1.5 to 2 minutes along the scoreline while turning.
Please let me know of any other questions or issues you may have with bottle cutting in the comments below.
Share this on social media or email by clicking below!

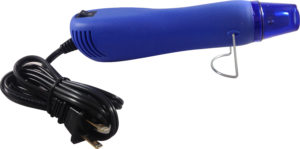 Mini Heat Gun: As you may have seen, my favorite way is to just use our
 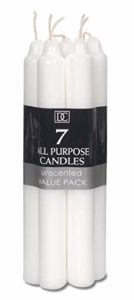 Candle Flame! A candlestick or those without a glass container is best because it aims the heat at the scoreline better.