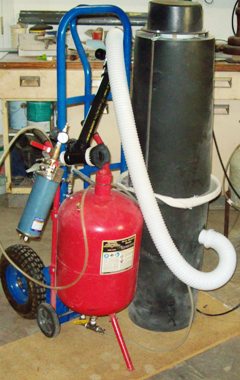
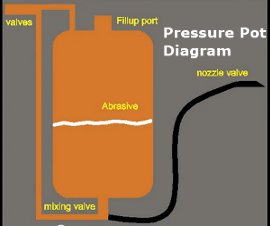
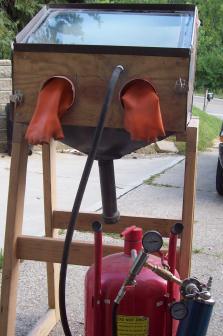
One additional tip that I want to share with you, is that some of the most inexpensive pressure pot sandblasters are the ones made portable such as the Central Pneumatic system, previously discussed. These portable types have wheels (at least the majority do) and are not permanently configured to a cabinet.
If you only want to get a high quality pressure pot without paying thousands of dollars in the first place, you probably could be satisfied by spending about $500 for a quality sandblaster that is also manufactured portable. If you’re serious about etching or want to get into business, then I would recommend getting a better quality pressure pot system and spend at least $500 to begin with.
The “Two for One” Pressure Pot System

Another tip: When etching on-site, there are expensive vacuum equipped sandblasters available. As you can see in the photo, this is an example of a home made one which is much more cost effective. I decided to sell these to attach to your sandblaster or you can buy my plans and make them yourself.
But instead you can tape a tarp or plastic sheet around the area securely for a cheap solution. Then rig up a viewing window and movable gloves to the tarp. To recollect the abrasive being blasted, you can funnel the tarp down into a bucket. Use your creativity to rig this up and be sure to always use safety goggles and safety clothing.
Any way, the use of a sandblaster that is made portable even gets more exciting. The great thing about this type of system is that it can be used as your stationary system also. It can easily be configured to a cabinet to allow you to recollect the abrasive. I explain this further in the cabinet section later on.
Share this on social media or email by clicking below!


For on site work that requires you to contain the residue in the blast zone, , you can build an inexpensive shelter using 1/2″ PVC pipe, “T” fittings and 90’s. For under twenty dollars, you can have a reusable work area and it will break down for portability.
Start with a tarp on the bottom and just build your frame. It can be open to the part your working on, or it can be a box. In either even, clear Visquine/ plastic will cover the area and allow you plenty of light and it can be taped to the work surface.