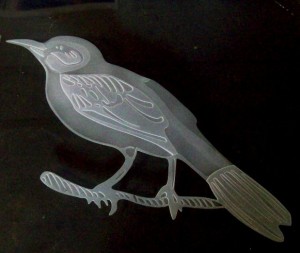
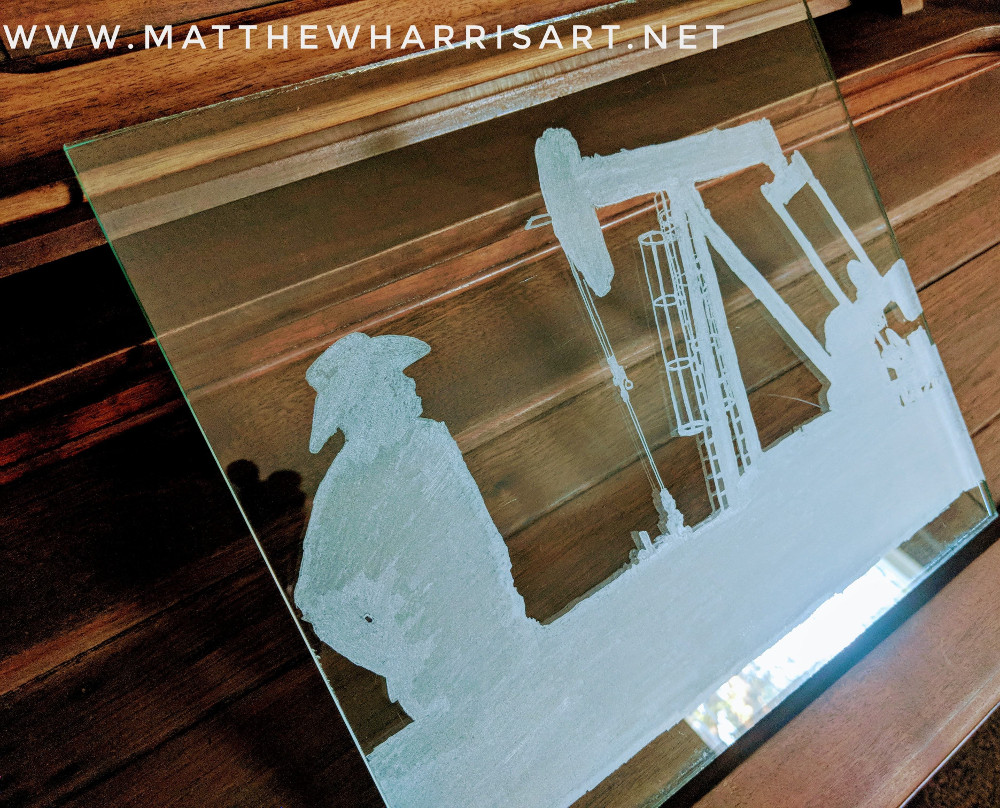
Before, I stated that you can etch almost anything such as wildlife. This is one of my favorite themes to work with because the great outdoors are awesome. Below is a picture of an etched bird on regular flat plate glass.
You can see that it’s not the most advanced stencil design used, and is basically just a two stage or layered process. There is also some light shading in the bird as well. I show more about this in my instruction guide.
The etching above isn’t the most artistic, but it is still a fun project and fairly easy to do. I did this using my new variable pressure nozzle that I made. It’s still in the experimental phase because I am testing different materials for it.
Anyway, the stage one etching is obviously the deeper one that tends to pop out more, while the second stage is the light or shallow areas. Then the very light areas that have the inconsistent darknesses are the shaded spots.
Share this on social media or email by clicking below!


Hi Eric,
Thanks for the patterns, I use to sandblast mirrors and all type of glass ware as my main business in South Africa. I’m retired and back home in New Zealand. But the due to economic, I thought I would restart. I just love the look of glass carving. What is the Minimum depth do you recommend to get the 3d effect.
Regards Rex
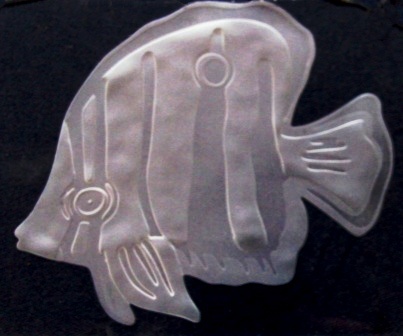
i realy like the fish i may use the all on the one item to look like a aquarium.
i would like to see some maps of various countriesstarting with texas.