Q: On a glass, or round piece of glass, that you have to do on the side, what is the best way of applying the mask?
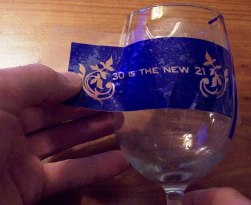
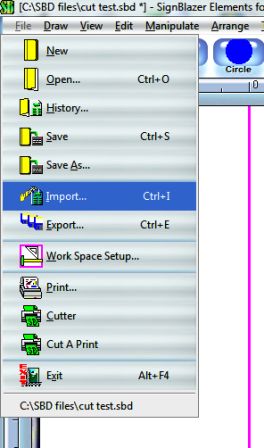
A: If you’re trying to apply the stencil mask on a round glass cup or mug, take a piece of paper and wrap it around. To find the dimensions of the stencil needed, mark the areas that you want etched and measure the distances with a ruler. These dimensions can be used to re-size the pattern on your computer graphics software.
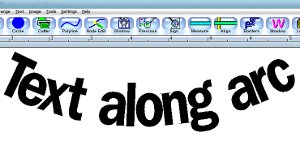
 Now to find the curvature for the stencil so the text part of the stencil is leveled correctly, use the ruler to mark a distance from the top of the glass to the top of the stencil. Do this in steps all around the glass with a Sharpe marker. Since it is round, the lettering will have a slight curve to it which is needed in order to look level across the glass. With your computer software, you have to use a “arc” tool or the “text along an arc” tool as I have done in the picture as an example.
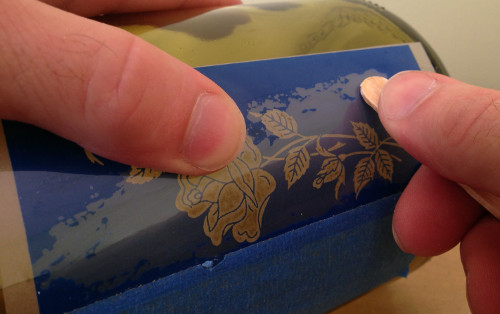
If the glass bends horizontal and vertical at the same point area, I usually make cuts in the stencil with an exacto knife and bend the tabs over each other. Not sure if that answered your question. Let me know.
-Eric
Share this on social media or email by clicking below!


Thanks for the information. This is good stuff.
Hi Eric, I still don’t get what you mean by,using the ruler to mark lines with a Sharpe marker. where and what are we marking? i get the bit about marking area for etching but how do you determine the angle (Arc)
@Allan, I probably could have been more thorough here and isn’t very clear. I will rewrite this above now.
Basically, I meant to mark lines while the paper is still on the glass and measure down from the top lip to the the text in an equal amount of space around the glass.
Allan, I just completed a tutorial with step by step pictures on how to do this page https://www.glassetchingsecrets.com/member/how-to-apply-stencil-curved-glass/ in the members area. Let me know if you have any questions over there. Thanks!