A while back, I asked my newsletter subscribers to submit some questions that they were interested in and I would try to make some tutorials. A subscriber named David asked me to do a tutorial on how to autograph glass by etching. Basically he wanted to add his signature to his stained glass projects after they were complete. So I created the following video below.
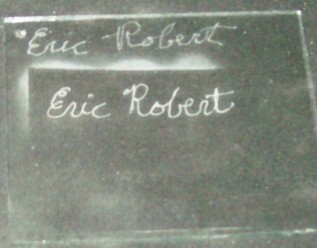
The photo below shows a close up of what my engraved autograph looks like on the scrap piece of glass. The top one is done by rotary engraving. The bottom was complete by sandblasting over the cut melted areas developed from the heated stencil cutting tool which is sold by Dremel here: http://amzn.to/18xW9wu
Remember, some other methods are:
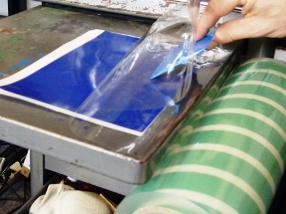
- Use the photoresist method by signing the transparent sheet with a black marker and exposing it.
- Sandblast with a small tip up close to the glass, using a low air pressure.
- Manually cutting out your signature after writing it with a marker on the vinyl. There are some tools that would make this easy.
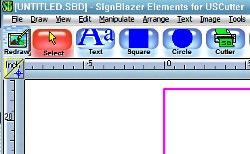
- Scanning signature into computer, producing a vector, and using a stencil cutter.
If you would like to learn more tips and tutorials like this, please sign up here for my members only area. Feel free to leave a comment, question, or suggestion about how you sign glass.
Share this on social media or email by clicking below!


I’ve tried all three methods and find that scanning my signature into my computer and letting my cutter not only works best, but looks the most professional.
I need some help when doing multi-stage blasting, however. Once I’ve weeded my first stage and blasted it, my stencil lines get blasted away for stage two blasting, and it’s very difficult to find the lines for subsequent weeding, then blasting. Does this make sense? Any hints or ideas?
Hi Nadina, for the 2nd stage- you need to make sure the edge where the 1st and the 2nd meet has a larger contrast so it’s easy to distinguish one layer from the next. You will need to blast the edge lightly and work in deeper as you get farther away from that edge. The stencil pulled for stage 2 doesn’t necessarily mean it has to be the same depth throughout that layer.