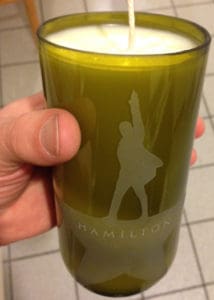
In this project, I tested the 2 stage process being viewed from the backside on a candle that I made from a wine bottle. The logo from the famous Hamilton play was etched as a gift for a fan of their musicals.
Cut a Wine Bottle
I first cut the wine bottle using one of our bottle cutter kits shown here. The cutter is also included in our Deluxe or Basic Candle Making kits. The video on how to cut this is shown here.
2 Stage Sandblast Etching
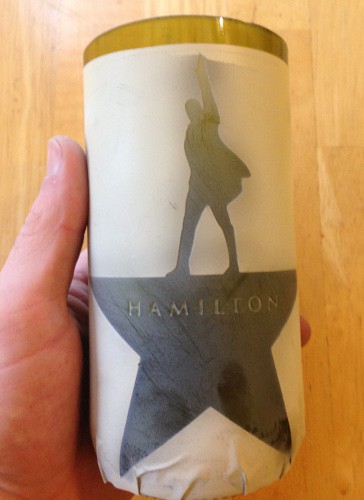
As you can see in the photo below, the stencil is still on the bottle with after both stages were etched with the sandblast process.
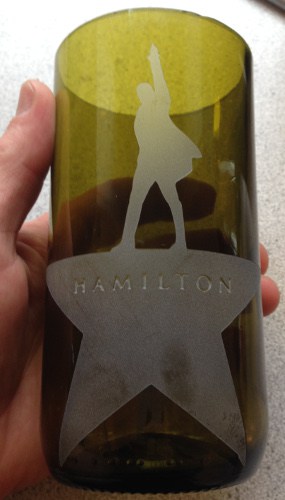
Then the stencil was removed and cleaned up.
Pouring Candle Wax
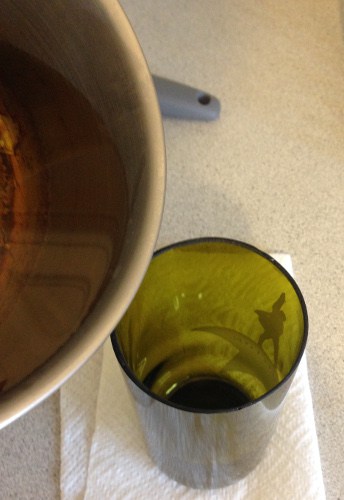
Then we heated up the wax in a pouring pot and mixed in the fragrance oil. Once it was melted, we poured it into the etched glass until it was about 1/3″ from the top.
Insert Candle Wick
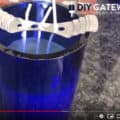
While the wax was still melted, I placed the wick in and centered it with 2 pencils. You can use any type of stick to hold this. Our kits now include wick bars, also known as wick bowtie holders. These are great for ensuring the wick is centered properly.
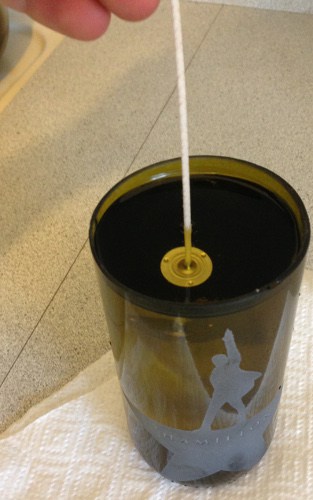
Insert a long candle wick. You may also place the wick in the empty glass before pouring the wax.
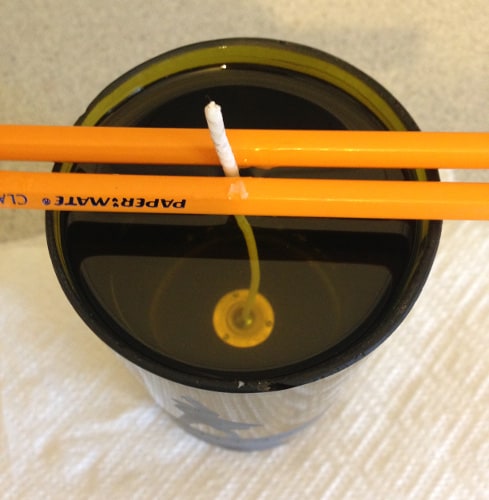
Top View
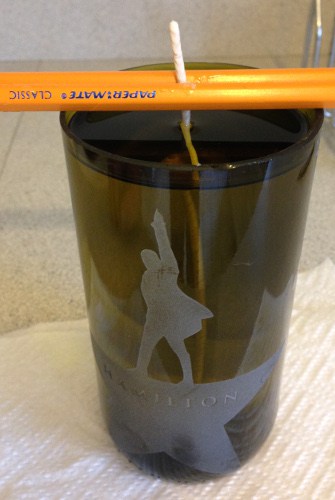
Candle wick holding with pencils
Wait Until Wax Dries
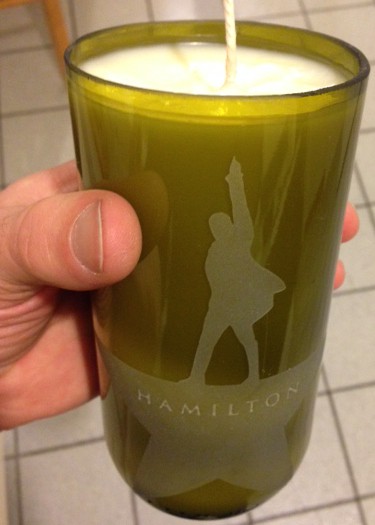
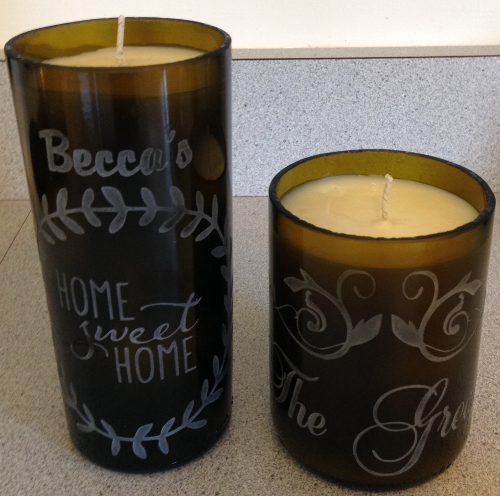
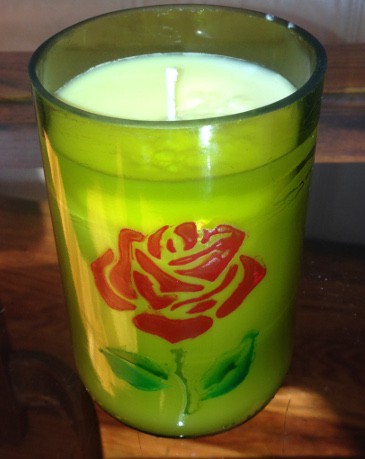
After the wick is aligned, wait overnight for the wax to cool and harden. Then you can trim the wick and use. Some candle manufacturers recommend that you wait a few days before lighting the wick so the fragrance can set better. The finished product is below.
Share Your Etch Candles!
Have you etch candles or bottle cut candles before? If so, please leave a comment below of what cool ideas you have etched. Or share photos with us to be featured by submitting them here. Thank you all!
Share this on social media or email by clicking below!

Nice!