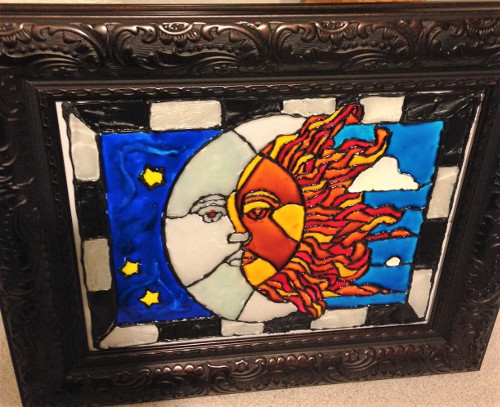
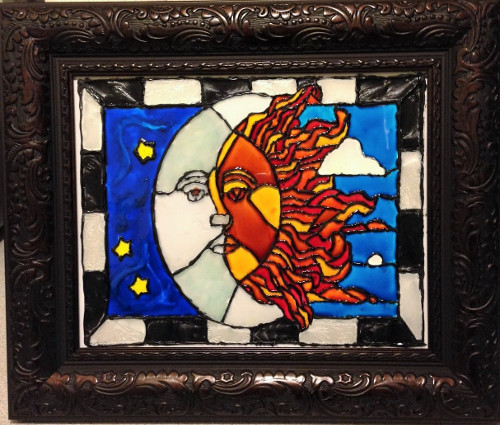
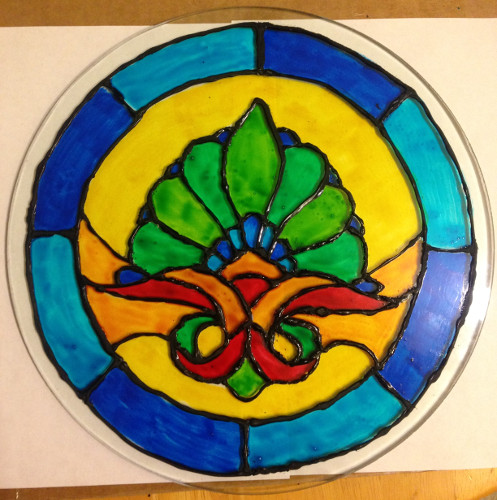
Faux stained glass painting on picture frames.
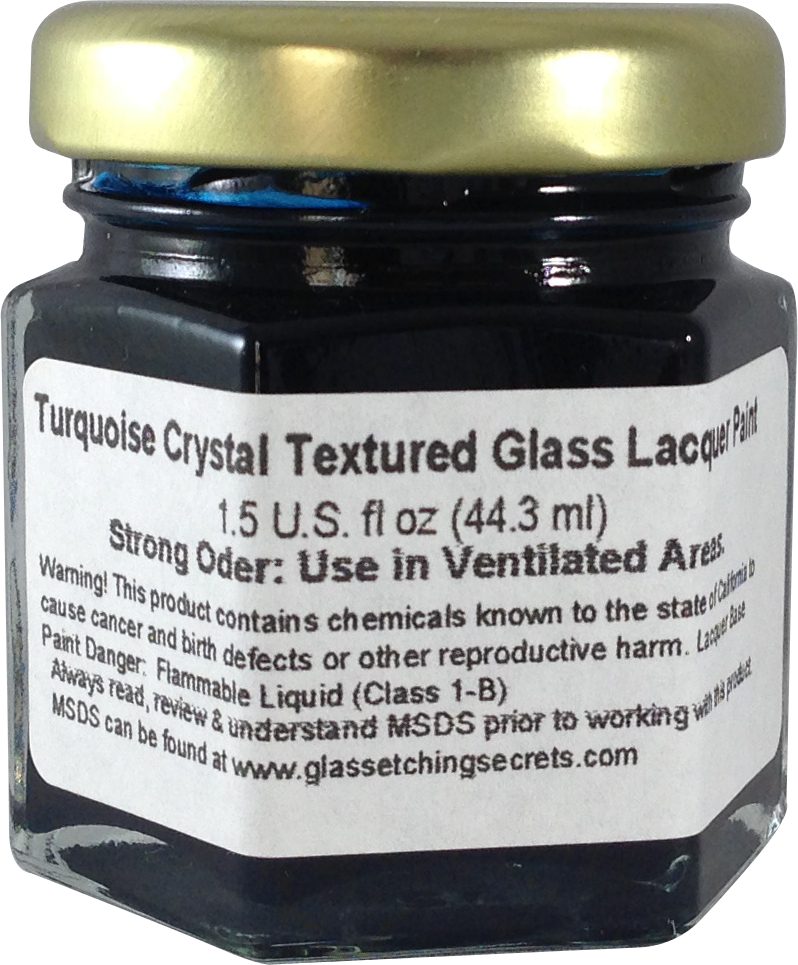
We had a very basic how to paint glass tutorial before which goes into the details on using our glass stain paint. (I use this paint for both regular faux stained glass painting and for spicing up etched glass. But in this tutorial, I wanted to provide details on faux stained glass painting on inexpensive picture frames and using a new crystal textured paint.
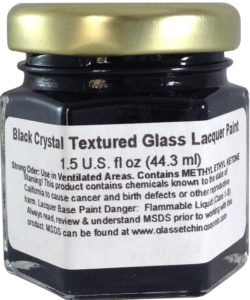
The crystal paint applies like any other paint and it starts to make a beautiful cracked crystal texture look as it dries. The texture looks similar to the surface produced by glass chipping. The texture really is awesome to integrate into a project with normal glass paint or etchings. I actually added it in the border of this project in alternating black and clear colors. Anyway, the below shows the tutorial of how I painted this glass picture frame.
Picture Frames are Great for Glass Painting
I’d first like to say, that I think painting on the glass of picture frames is one of the best items to paint for many reasons:
- They come with the glass that fits inside the frame already. No glass cutting needed!
- They can be hung up as a cool decorative item in the house.
- They are very inexpensive. Places like dollar stores and Walmart have them for less than a few dollars. I believe this one was around $3 or $5.
Painting on Glass Picture Frames Tutorial
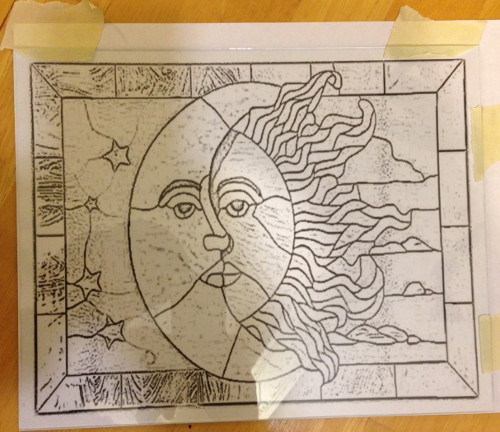
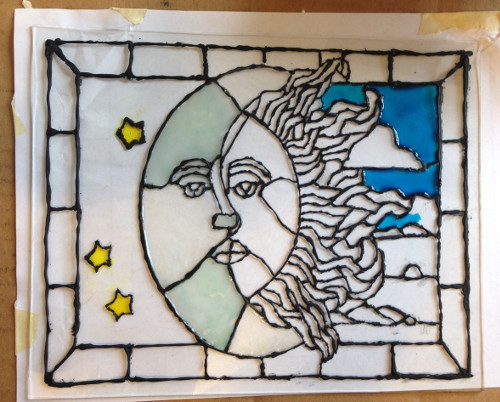
Step 1: Place printed glass stain pattern behind your glass and tape together.
I found a stained glass pattern online (can’t remember where), scaled it down to size of the glass, and printed it out.
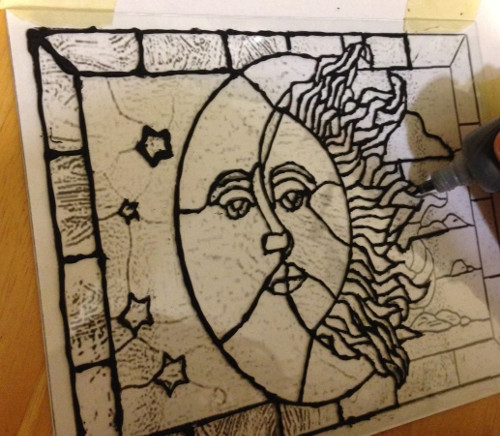
Step 2: Trace the leading edges of the pattern with any type of faux leading.
Let that dry before painting.
Step 3: Apply your paint in sections.
Step 4: Textured crystal paint was added in the border area last.
It is best to paint the textured crystal paint last because you want to work above it the least amount as possible because it is so toxic.
Step 5: Allow to dry
Allow this to dry, preferably on an outside front or back patio where it won’t get damaged.
Step 6: Place back in picture frame and hang where needed.
Share this on social media or email by clicking below!

Thank you for posting a sample of what I was looking into 😀
That’s very interesting. Thanks for sharing your painting. I love it!
Love this..thanks for sharing.
What an awesome project. I might make some for xmas gifts this year1 Thank you
As a stained glass artist I can not tell you how much I hate fake stuff like this. Stained Glass Overlay is the same thing. When that was “big” I would tell people who would inquire about the fake plastic stuff, that if they wanted their house to look like a Wendy’s or a sneeze guard from a McDonalds salad bar – go for it…and the colors fade with sunlight…why not just Doc”the real thing”????
Why not just do the real thing????? (Spellcheck!)
@Kay,
I totally agree the real stained glass is for the most part much better and I respect the stained glass industry a lot.
This post wasn’t meant to downplay how great your art form is. It is simply a different hobby that is enjoyed by many folks with some similar characteristics.
This was just a project we had fun with which allows others to create something easier with lower costs. I didn’t intend to threaten your form of art, but I can understand the frustration of the complications it creates when selling it to folks.
Thanks for show this.
Hello Eric.
Thank you for sharing new ideas for a long time. Hope I will collect more ideas from you in future also.
Can you help me to find out the shops in Bhubaneswar, Odisha from where I can get all type of glass etching accessories.
@ Tapati, thanks! I am not too sure where to get materials for your region. Sorry