This is one of my favorite, featured glass etchers I’ve seen lately. She provided a great explanation and goes into great detail to etch photos for clients. She provided the below. Love it! (Click on any of the photos for an enlarged view)
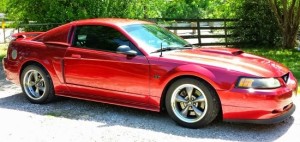
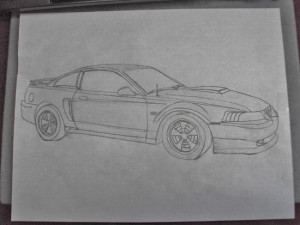
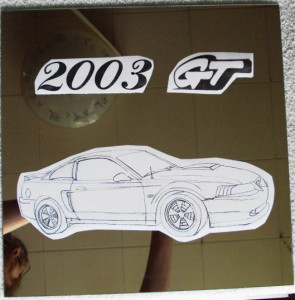
When creating etched mirrors, I use the Etching Crème Technique, I prefer the brand Armour Etch Crème for most of my projects. For Custom Orders I first start with a photo or picture of what the person wants to be etched on the mirror, in this example I am etching a custom show car for a client. The car is a Red 2003 Mustang GT. I had the client send me a photograph which I then drew freehand the car itself in pencil which allows me to decide what areas I will etch and what areas I will leave mirror (as shown below).
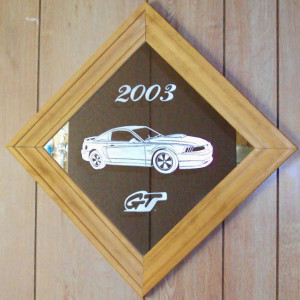
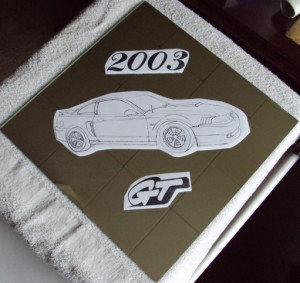
I then take the drawing and lettering if it has any and lay it out on the mirror and photograph it for approval from the client. In this case there were 2 layout styles, Square or Diamond shaped once framed. This Client chose the Diamond Shape (as shown below on the right). Once the client approves the layout I can then begin.
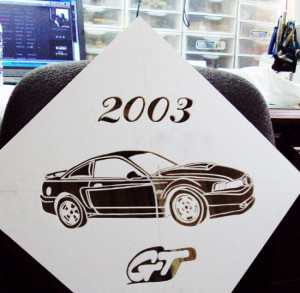
At this point I will cover the mirror with Tacky Back paper Contact brand is the best in my opinion and I use white or clear depending on the project. In this case I used white Contact Paper. I then transfer my drawing to the actual Contact Paper and begin cutting out the areas that I want to have etched. I always send a photo to the client on a custom order job once the cutting is completed for one more final approval before I apply the Chemical Etching Crème. (see photo below)
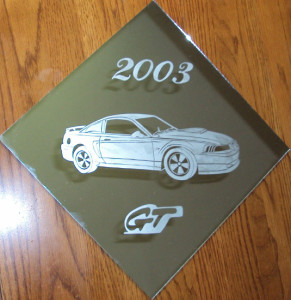
Once the client approves the final cut piece I will then apply the Etching Crème and complete the etching process, then remove all of the Contact Paper. (see photo below)
I will then send a photograph to the client for approval of the etched piece and once the client’s approval is received I will custom frame it (photo shown at top of article) in our woodshop where we build custom aquarium treasure chest stands.
I have had many clients order an aquarium stand and then request that I etch the glass of the aquarium. Etching Glass and Mirrors is a very relaxing process to me, the ideas are endless as every layout can be cut in several ways giving a different look to each piece of glass or mirror. I create many pieces over and over but there are never 2 exactly the same as I make sure that I change at least one thing on each mirror to make it a One of a Kind. I pride myself in craftsmanship and accuracy of depicting exactly what the client is looking for when they place their custom orders.
Thank you for spending time with me today. I enjoy sharing my craft and expertise and look forward to hearing your comments and suggestions as I am always looking for new ways to expand my craft.
Shelley Mangus
Share this on social media or email by clicking below!

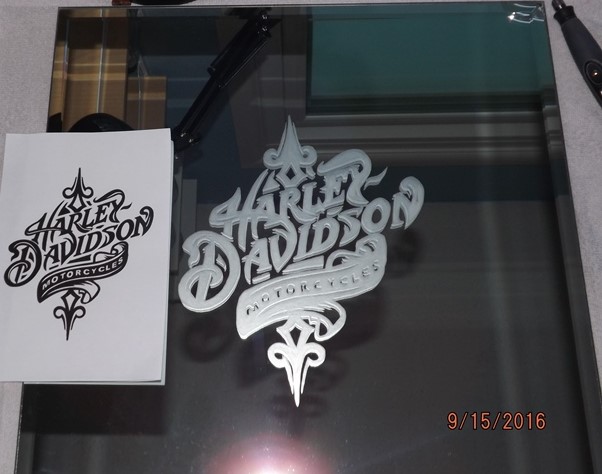
um ótimo trabalho, gostei eu trabalho com os espelhos criando paisagens barrocas
em um estilo de casas e lugares bem antigos. cai muito bem no espelho em breve irei estar postando também algumas coisa. mas você esta de parabéns com o seu Mustang. abraços
Thank you for sharing this. Loved the mirror. I keep thinking I want to get into this and just haven’t had the time but with a new year coming on maybe this will be the year I finally get to do some.
Ficou muito bonito o seu trabalho.
you do a great job is a beautiful art thank you
Hi,
It’s gorgeous. What kind of etching cream do you use?
Thanks
Hi again, Sorry, I didn’t read fully. I have my answer. :/
Very nice work Shelley.
You said “I then transfer my drawing to the actual Contact Paper.” How do you get the drawing on to the contact paper? If you use a printer, what brand/model, please.
Thank you for the great write up and pictures. Inspiring!
i would like to know about shading.where could i find information on shading.i just sand blast with a paasche and scm sand blasters.
could you tell me where i could find information on shading. all so on frost light gray and dark. i can just frost.i use a paasch and scm sand blasters.i also have a 24 inch vinyl cutter but still useing contact paper and cutting with a exacto knife. i m still trying to learn how to use the vinyl.please help. thank you. jim
Hi Jim. I’m Jack. I too have a cutter-plotter but, you may want to look at Silhouette. That thing is amazing. I also use low tack vinyl on silhouette. Easy to remove and sticks well. I blast with it. Jack
Heather, I use Armour Etch Creme 99% of the time. Thank you so much for asking.
Donna Dee, I use a #2 pencil, I cover the entire backside of the drawing on paper with the pencil lead, then turn it over, place it on the covered mirror and trace my original drawing, the lead from the back side of the paper leaves view-able lines and they don’t wipe off like carbon paper ink does. I have found over the past 30 years that this is the easiest and cleanest way for me to transfer my drawings from paper to the contact paper on the mirror. Thank you very much for asking.
Jim, I have never used a sandblaster so Eric the writer of the wonderful blog would be able to assist you with shading information. As for using a plotter that cuts vinyl, I tried but didn’t have any luck as plotter or vinyl cutters are manufactured to create lettering for automobiles and the likes. I still cut with an exacto knife by hand. As for shading, you can apply etching creme more than once to an area and darken the etching and I have learned over the years how to free hand with a paint brush to create lighter areas.
Jack, thank you for your post, I also will be checking into the Silhouette it sounds like a wonderful alternative to a commercial vinyl plotter.
Thank you all for your wonderful and kind comments and questions about my Custom Mirror and how I etch. I was very honored when Eric wrote about me and my custom etched 2003 Mustang GT project.
Sincerely
Shelley Mangus
I dont think its electrical tape i think its patiners masking tape the blue stuff is easy to remove if you used white you would need to scrape off and then scrub any tape or glue that did not come off.
Hello Shelley
I in the last week or so saw your mustang on the mirror.
You renewed my faith in man kind.When I was in High school I saved enough
money to pay cash for my first car.I paid around 3k and drove it of the show room floor. It was a BOSS 302 yellow and black. I think stock it had 318 hp.
I have tried many times to get it on to glass or tiles even wood I think. i will try
one more time to enshrine one the most badass cars in history. If not i shall turn the project over to you.